
Configuring Your Lab Mnemonic Codes
Step 1: Access the Pathology Centre
From your main navigation bar at the top of the screen, click on the 'Pathology centre' tab.
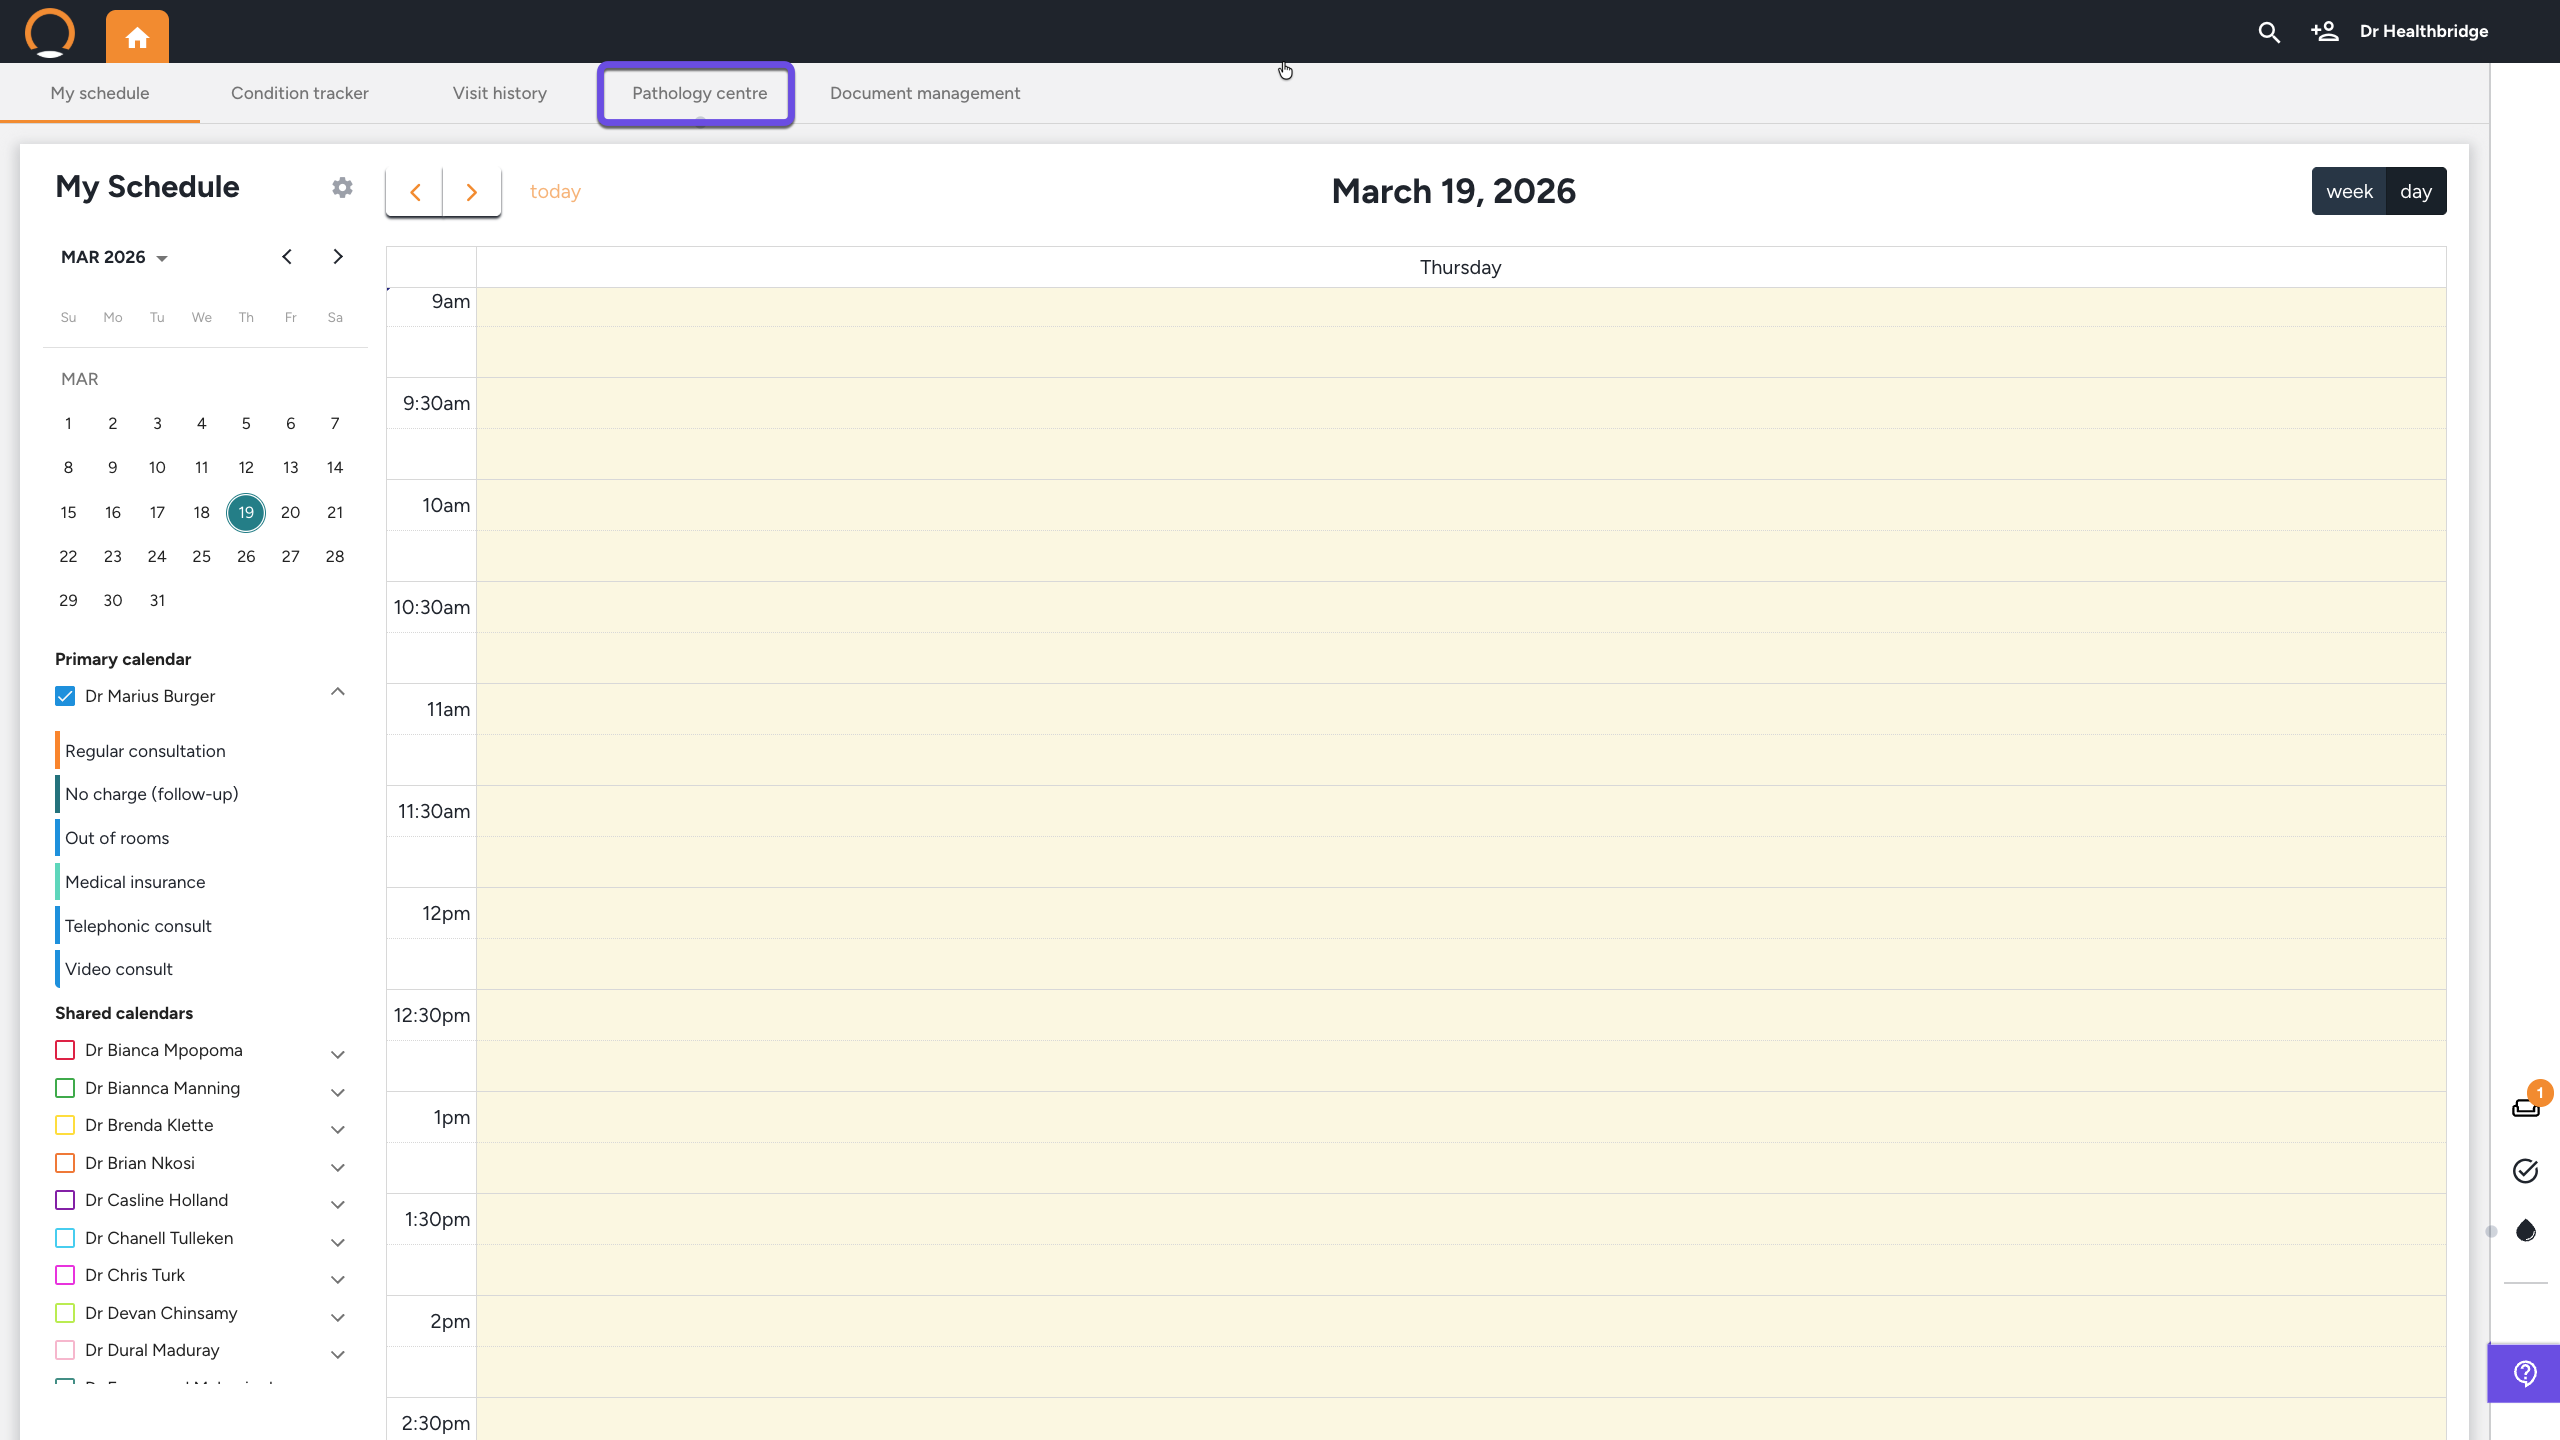
Note: If you see an orange notification badge on the Mnemonic button, the system has identified that results are pending or that you have unconfigured labs.
Step 2: Open the Configuration Menu
In the top right-hand corner of the Pathology Centre, click the 'Mnemonic Codes' button (look for the gear icon).

Step 3: Identify Your Lab
The Mnemonic Code Configuration popup will appear, listing all major labs (e.g., Ampath, Lancet, Path 24).
- Labs already configured will display your code in teal (e.g., HEA010).
- Labs requiring setup will display as 'Not configured'.
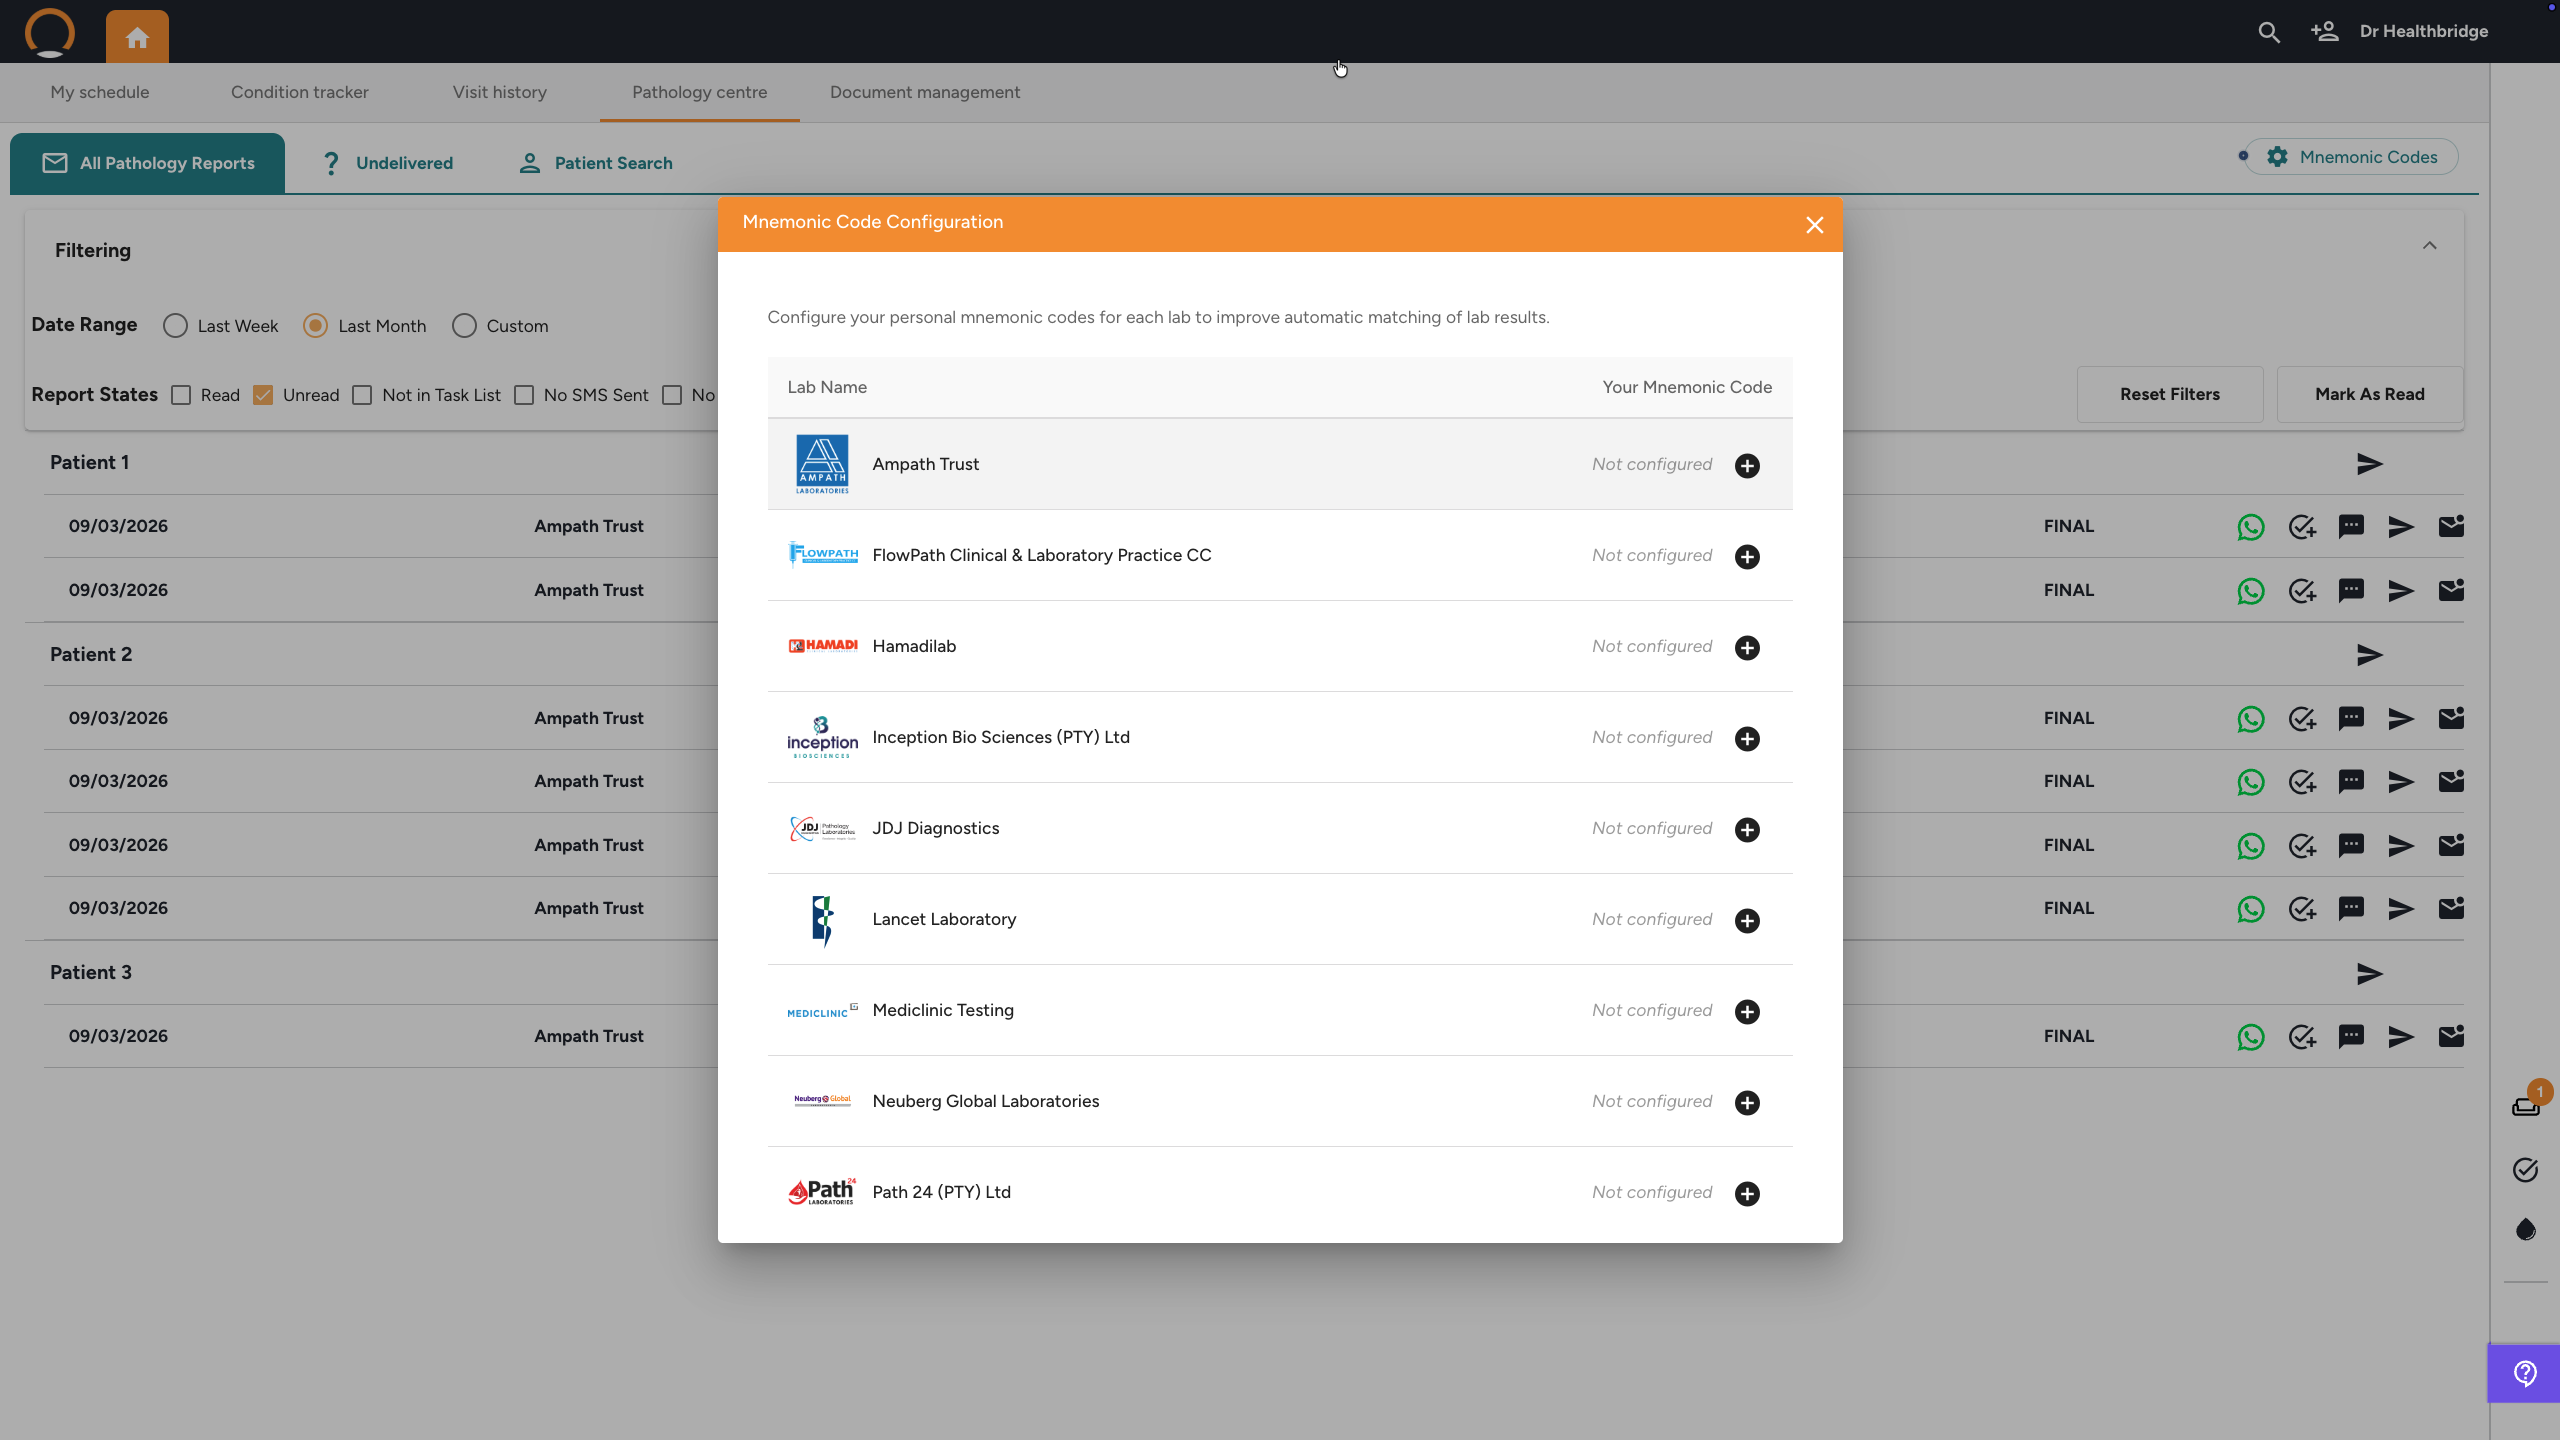
Step 4: Add or Edit Your Code
- To add a new code: Click the plus (+) icon next to the relevant lab.
- To update an existing code: Click the pencil (edit) icon.
Step 5: Save and Activate
Type in your provider-specific mnemonic and click Save.
What happens next? Once you save your IDs, a request is sent to our technical team. We will coordinate with the labs to activate the electronic link. You’ll receive a notification once the "data tap" is turned on and results start flowing into your inbox.
FAQ
- Where to find your Mnemonic: Check the "Provider Details" section of a recent lab PDF, look at your lab request forms, or simply call the lab’s support desk and ask for your "Provider Mnemonic."
- The "Paper Chase" Cure: Once these codes are active, you can stop manual portal-hopping. Results will land in your Pathology Centre automatically and be flagged if they are abnormal.
- AI Integration: Correct mnemonics are the foundation for the AI Pathology Messenger. The AI needs this electronic data to trend your patient's history accurately.