
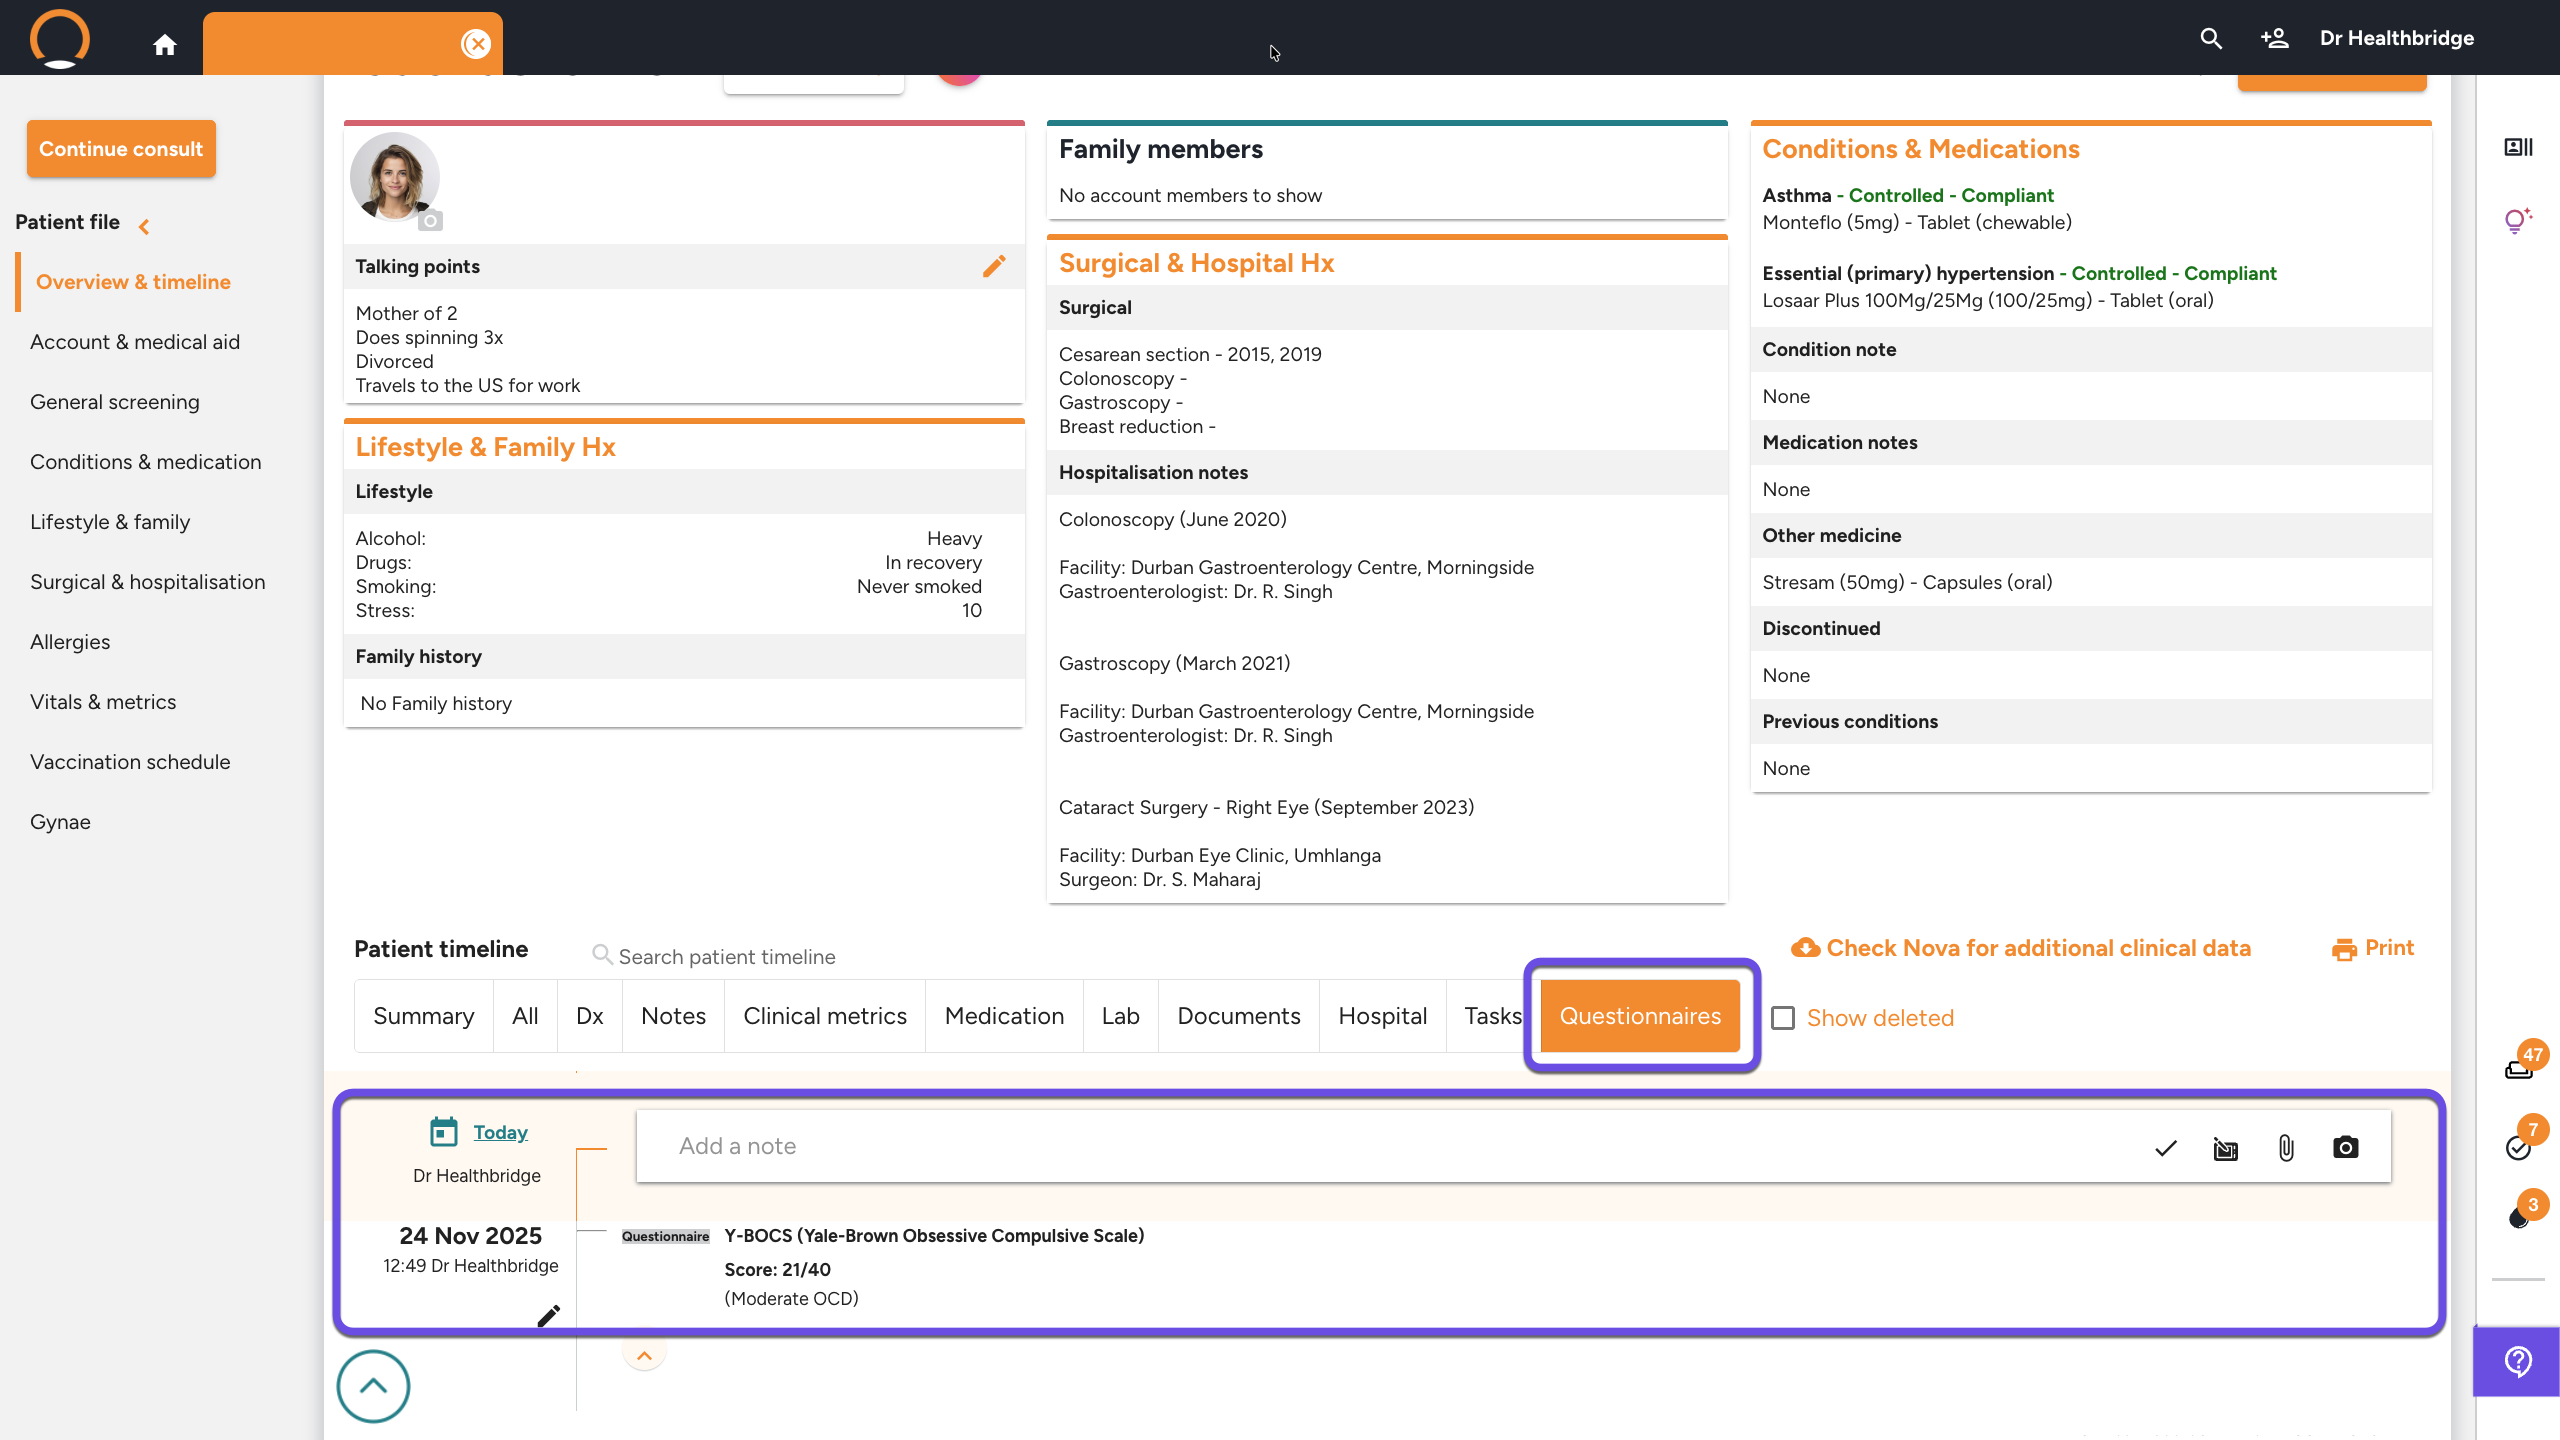
Questionnaires
The Questionnaires feature allows you to conduct standardized clinical screenings (such as ASRS, GAD-7, or EPDS) directly within a consultation. This ensures that objective data is captured accurately and saved automatically to the patient's medical record.
Step 1: Start a Consultation
- Open the Patient File via the Search Bar, Waiting Room, or Calendar
- Click the orange Start Consult button.
Step 2: Navigate to the Questionnaires Tab
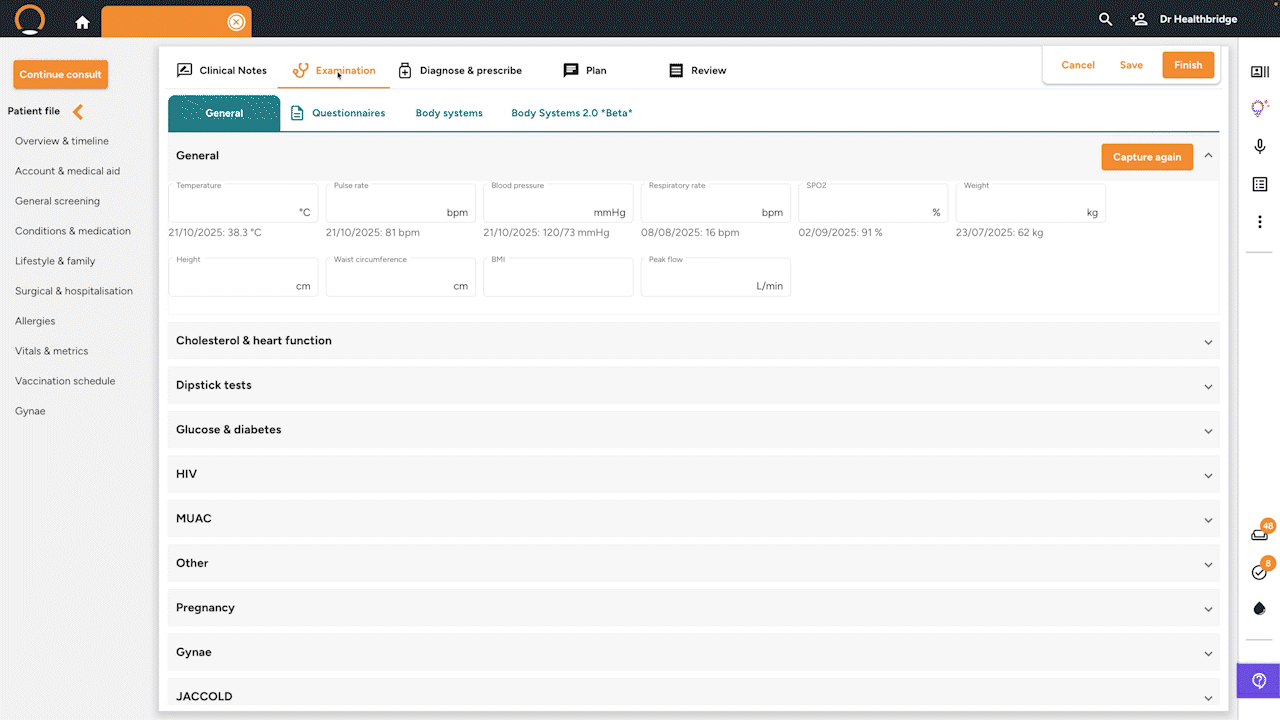
- Click on the Examination tab in the main navigation bar.
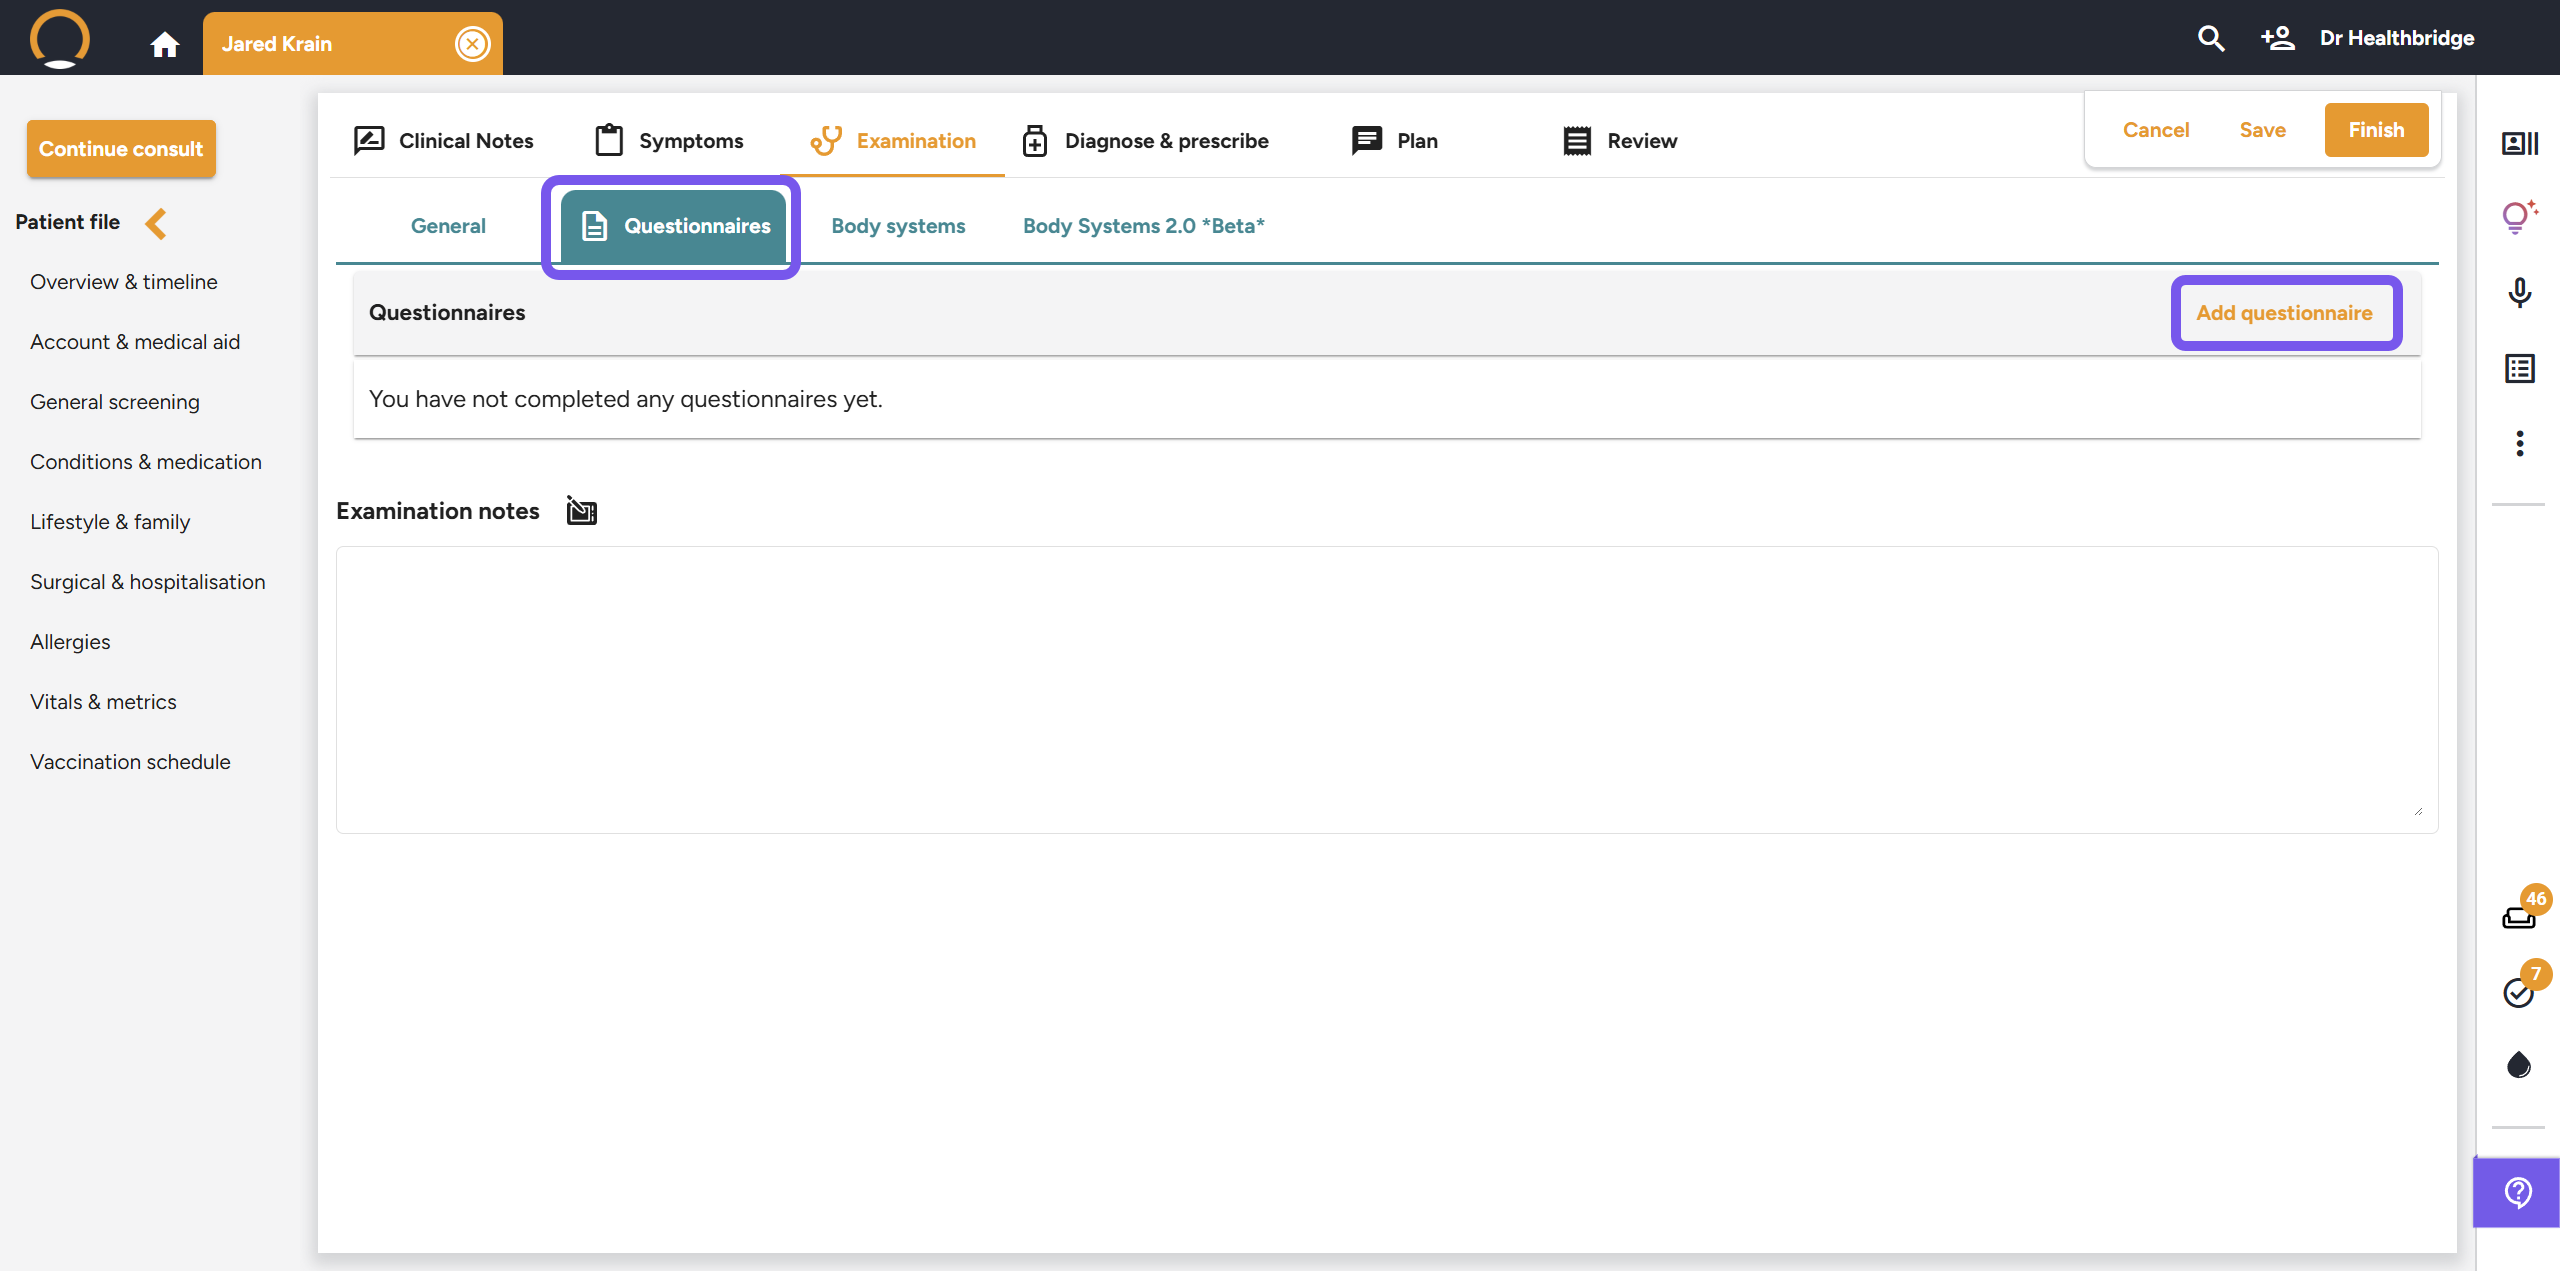
- Select the Questionnaires sub-tab (located between 'General' and 'Body Systems').
Step 3: Add and Select a Screening Tool
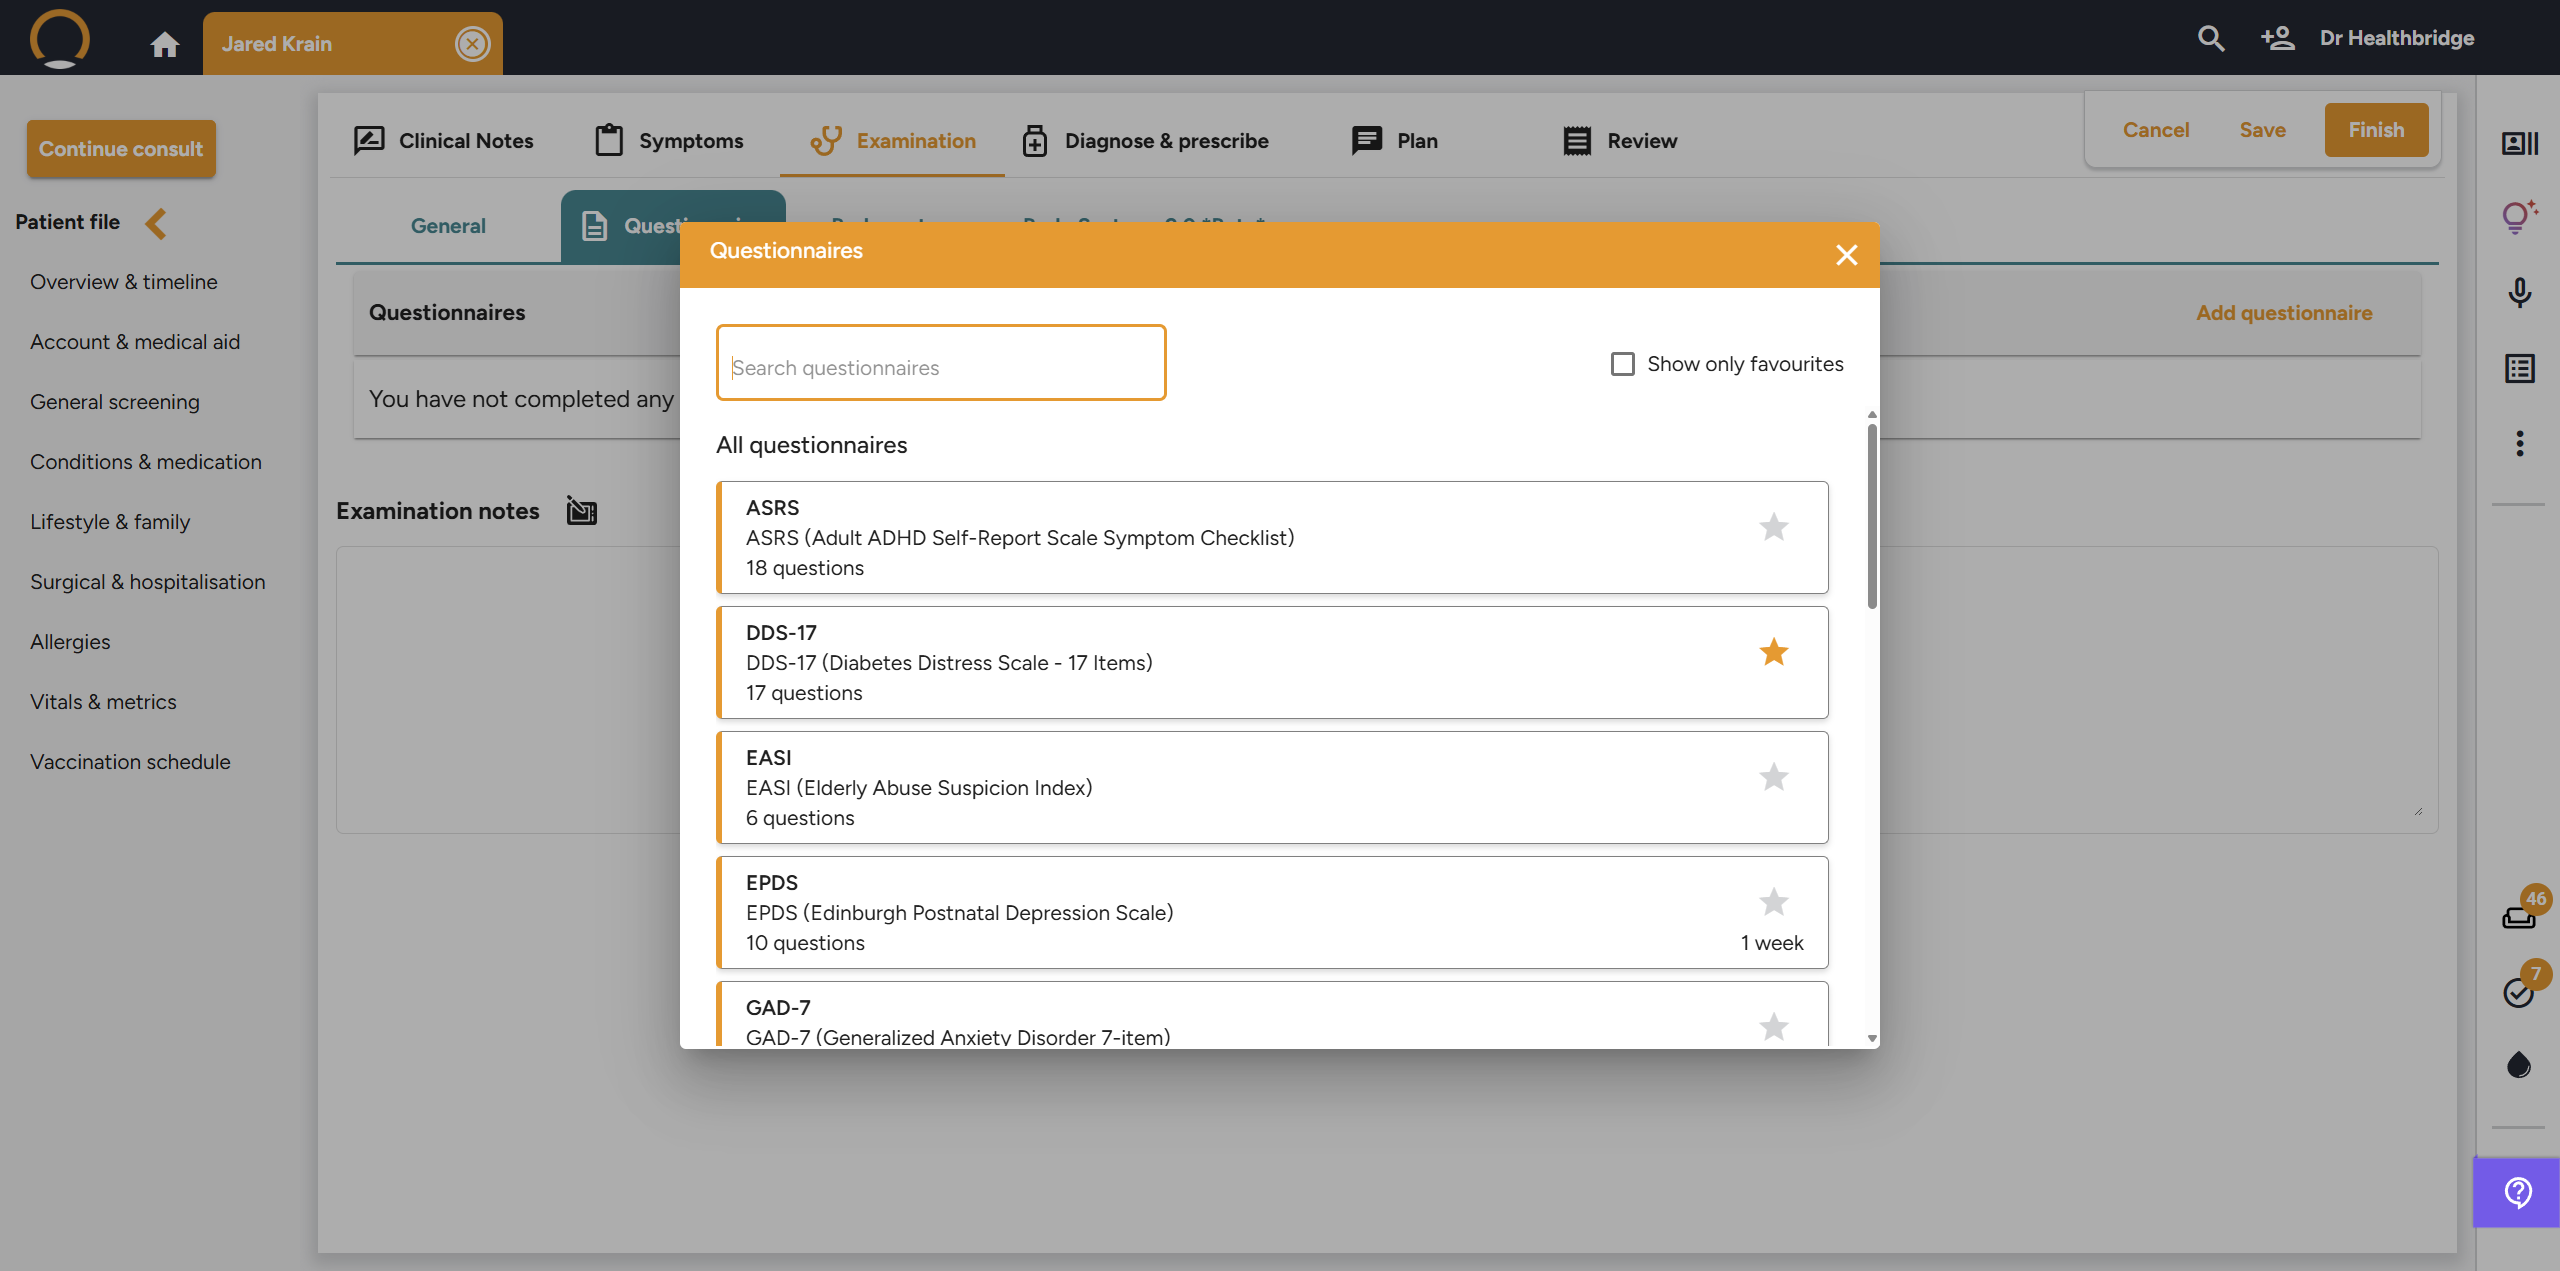
- Click the orange Add questionnaire link in the top-right corner.
- A pop-up window will appear displaying all available tools (e.g., ASRS, GAD-7, EPDS).
Tip: Click the Star icon next to a questionnaire to add it to your Favourites for quicker access in future consults.
Step 4: Complete the Form
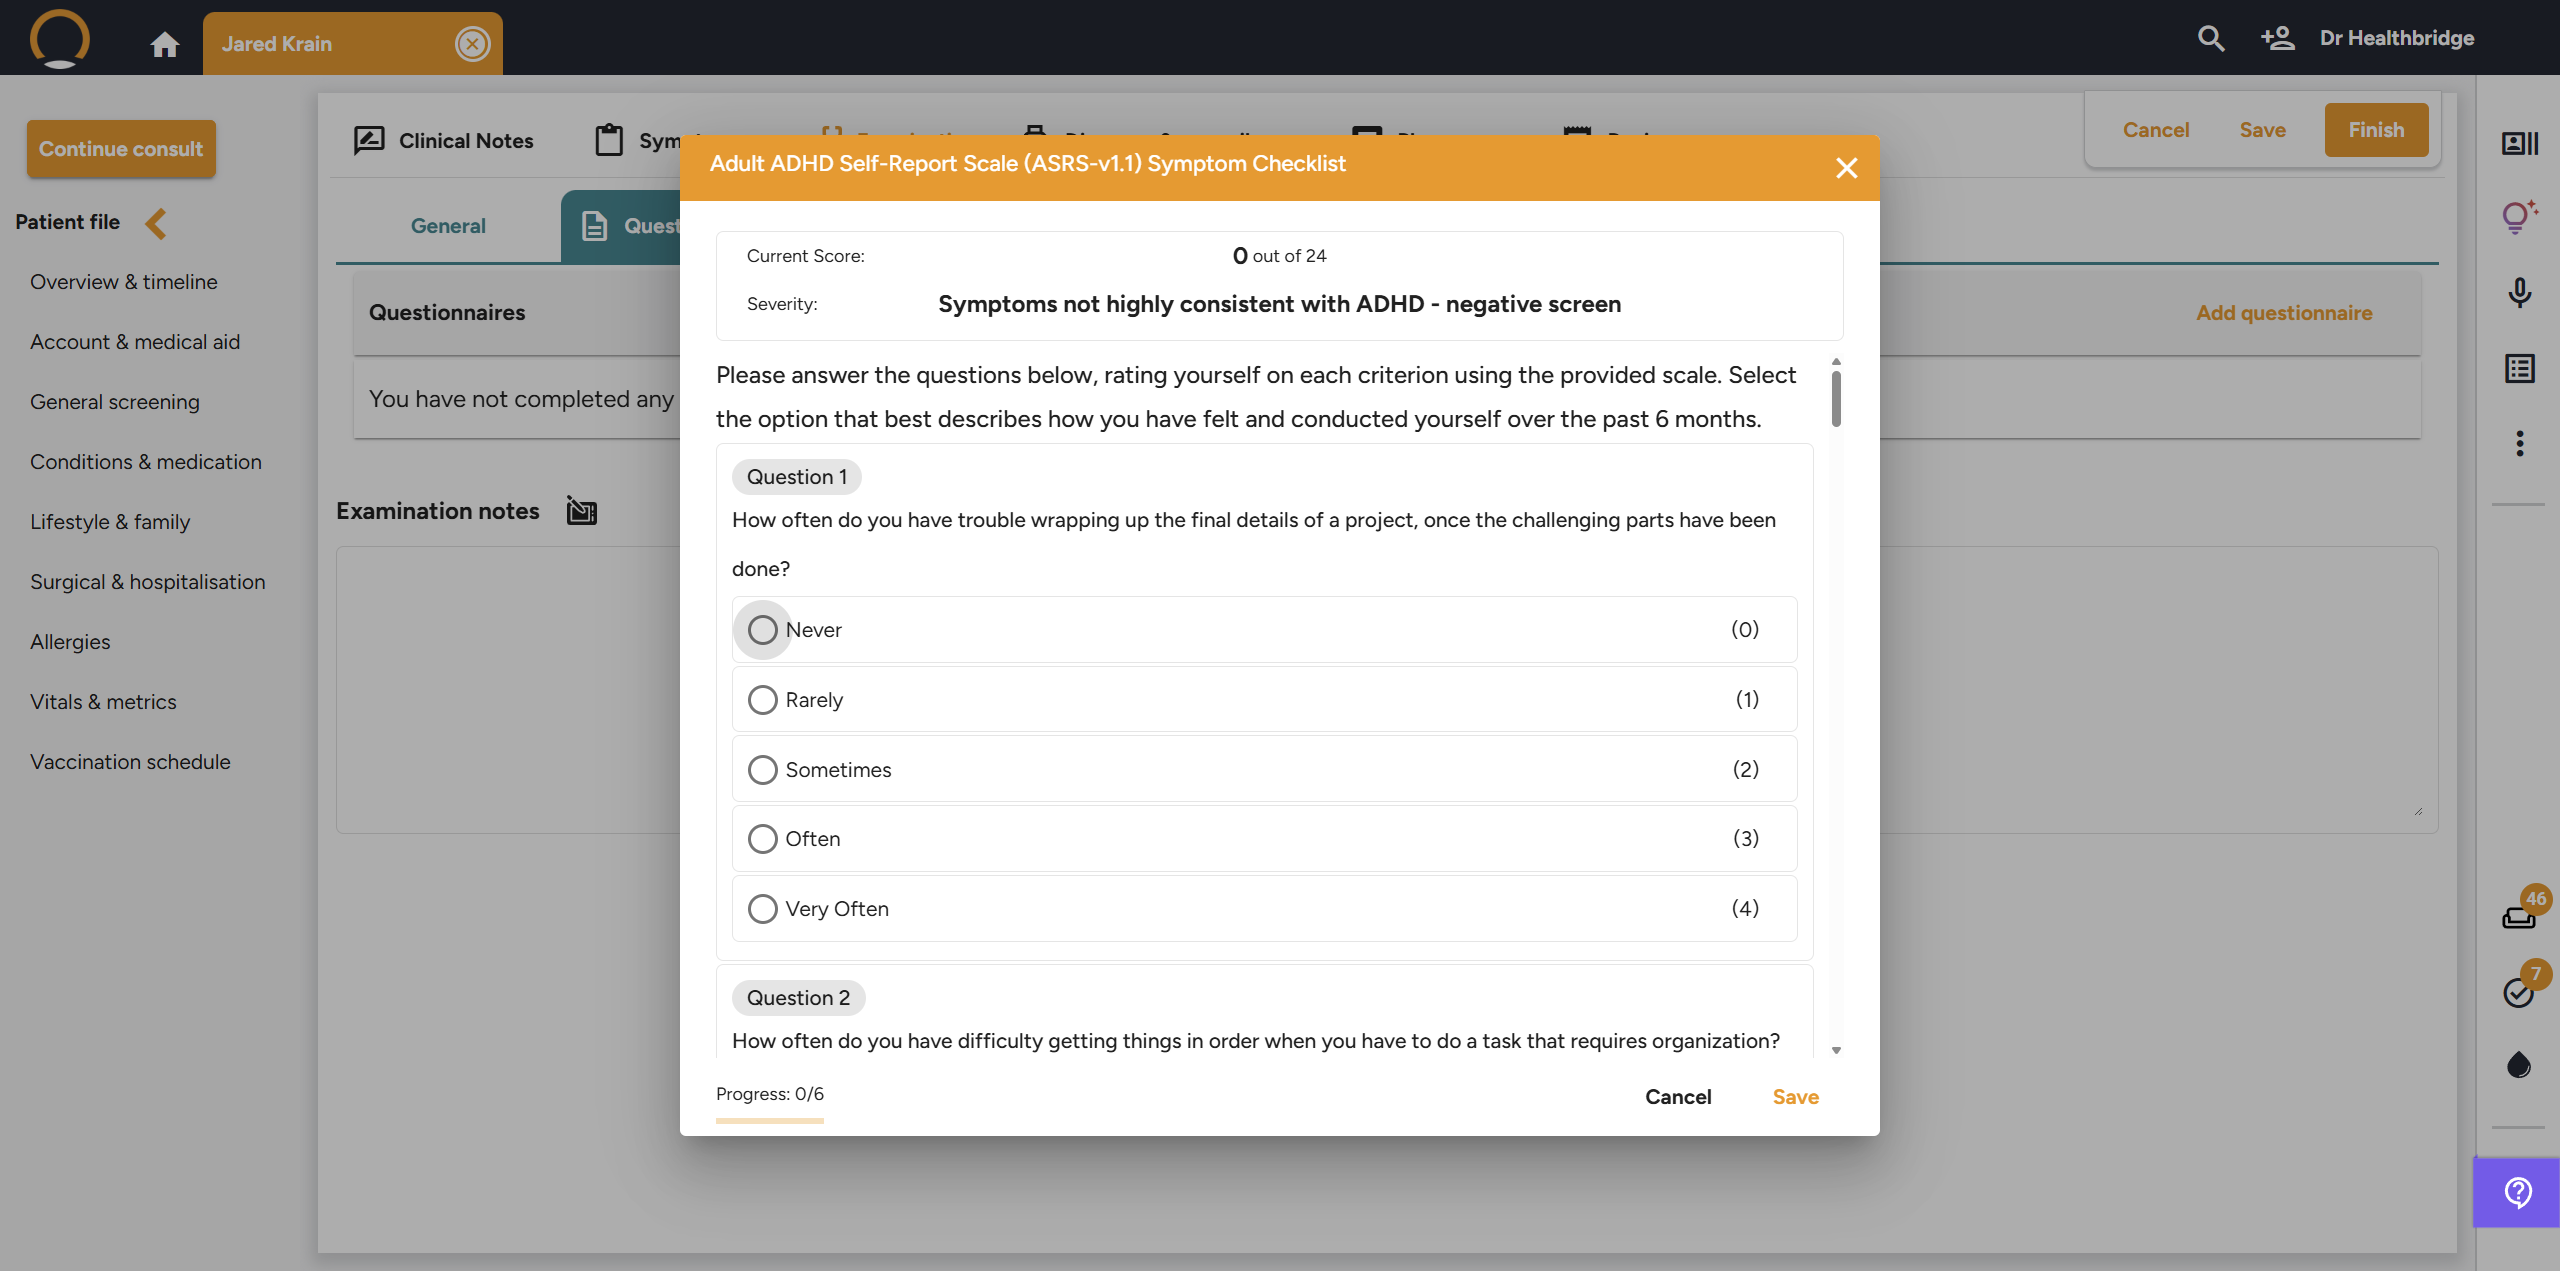
- Click on the desired questionnaire to open the interactive form.
- Select the appropriate radio buttons as the patient responds.
- The system will track your completion progress at the bottom of the window.
Step 5: Review and Save
- Once completed, the system automatically calculates the Current Score and provides a Severity interpretation (e.g., "negative screen").
- Click Save to attach the results to the Patient Timeline.
Key Benefits for Your Practice
- Standardized Care: Ensure all patients are screened using validated medical tools.
- Automatic Scoring: The system calculates scores and severity levels instantly, reducing manual errors and saving time.
- Clinical Traceability: Completed questionnaires are automatically stored in the Patient Timeline, providing a clear audit trail of clinical decision-making.
- Enhanced Engagement: Use the results to explain clinical findings to the patient in a structured, easy-to-understand way.