
Practice and Provider Settings
Practice and Provider Settings
What: The Provider File, a set of pages reached from your name in the top-right corner, covering your practice and provider details, templates, letters, pathology, and support.
Why: This is where you configure how Healthbridge Clinical works for your practice, rather than for a specific patient or consultation.
When: Mostly during setup, and occasionally afterwards when you need to add a template, update a letter, or find a support contact.
Sections
1. Provider
Location: Top-right corner › Provider File
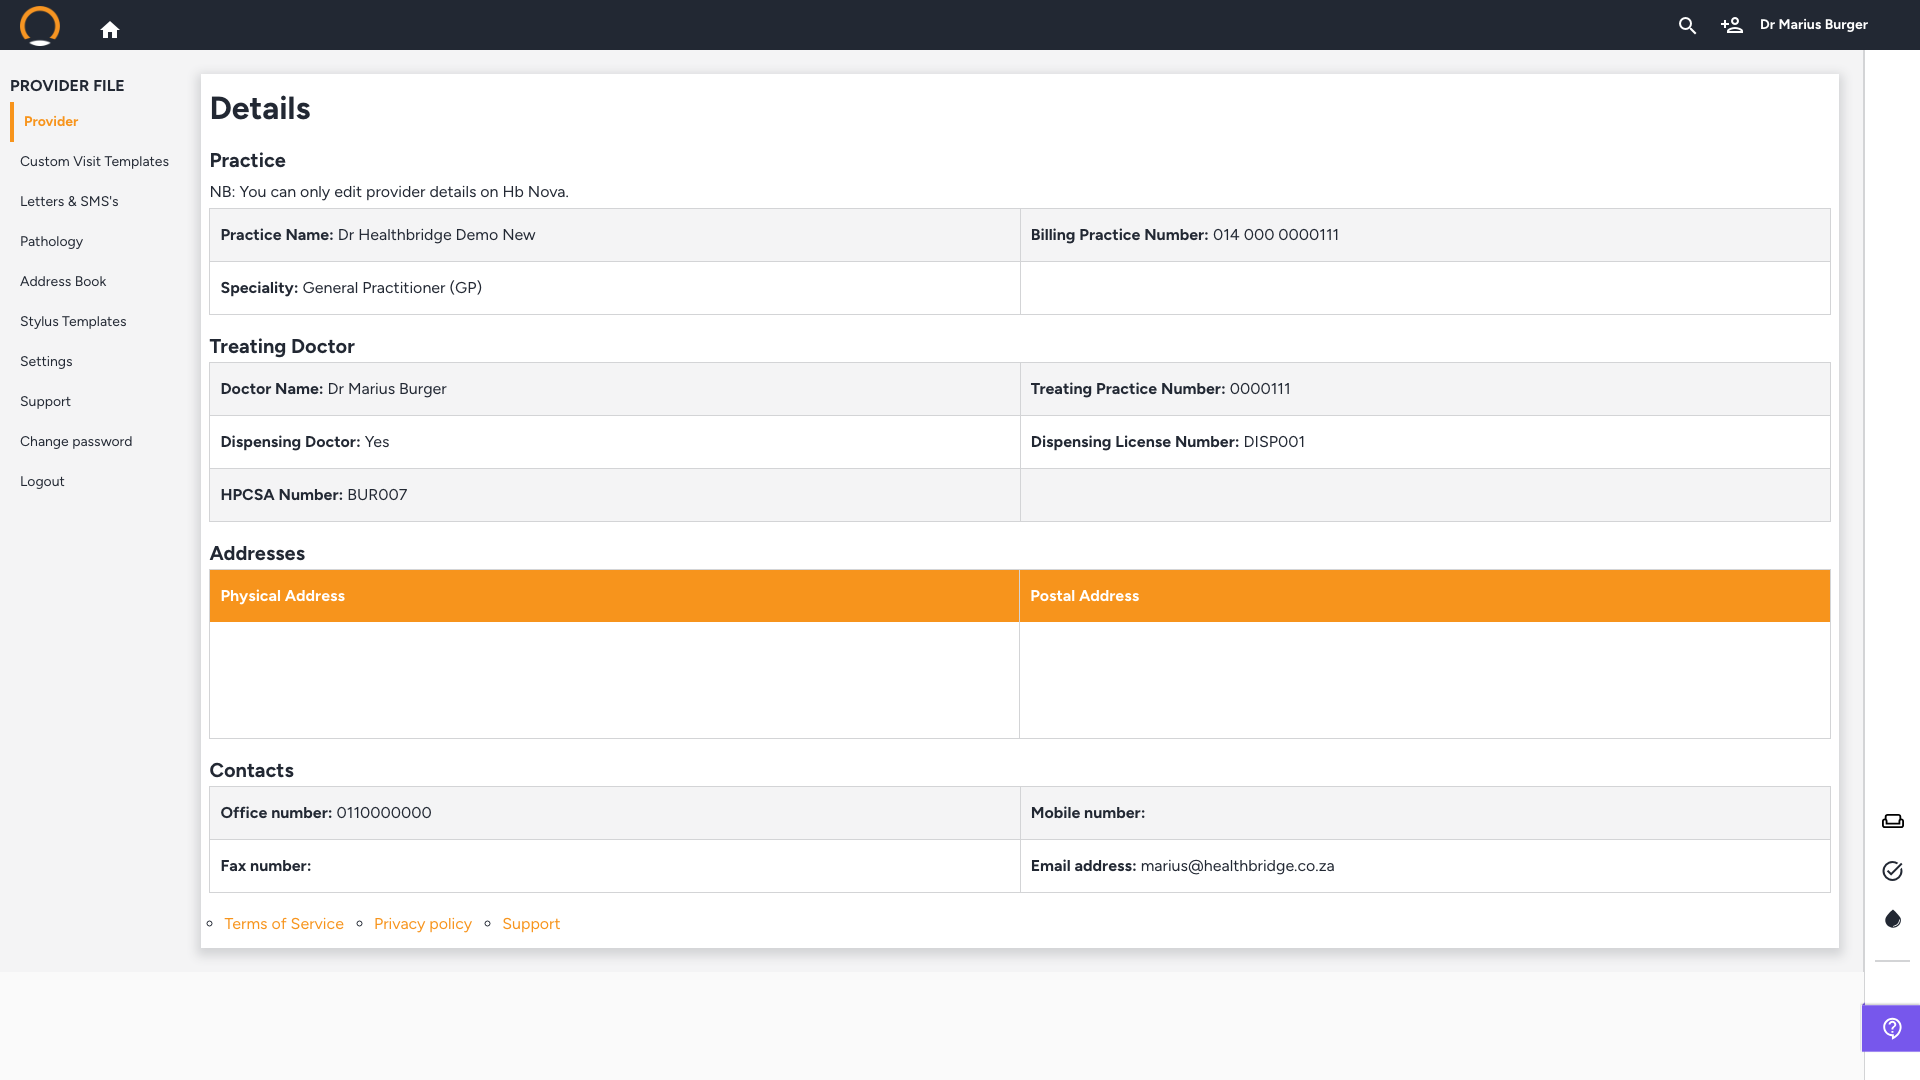
Click your name in the top-right corner to open the Provider File. It opens on 'Provider' by default, showing read-only practice details, treating doctor information, addresses, and contacts. To change any of these, you'll need to do so on myMPS, they can't be edited directly here.
2. Custom Visit Templates
Location: Provider File › left menu
Build your own consultation templates here. Choose a 'Section' (e.g. History/Symptoms), a field 'Type' (e.g. Check List), and add options with an optional note for each. The 'Live preview' on the right updates as you add fields.
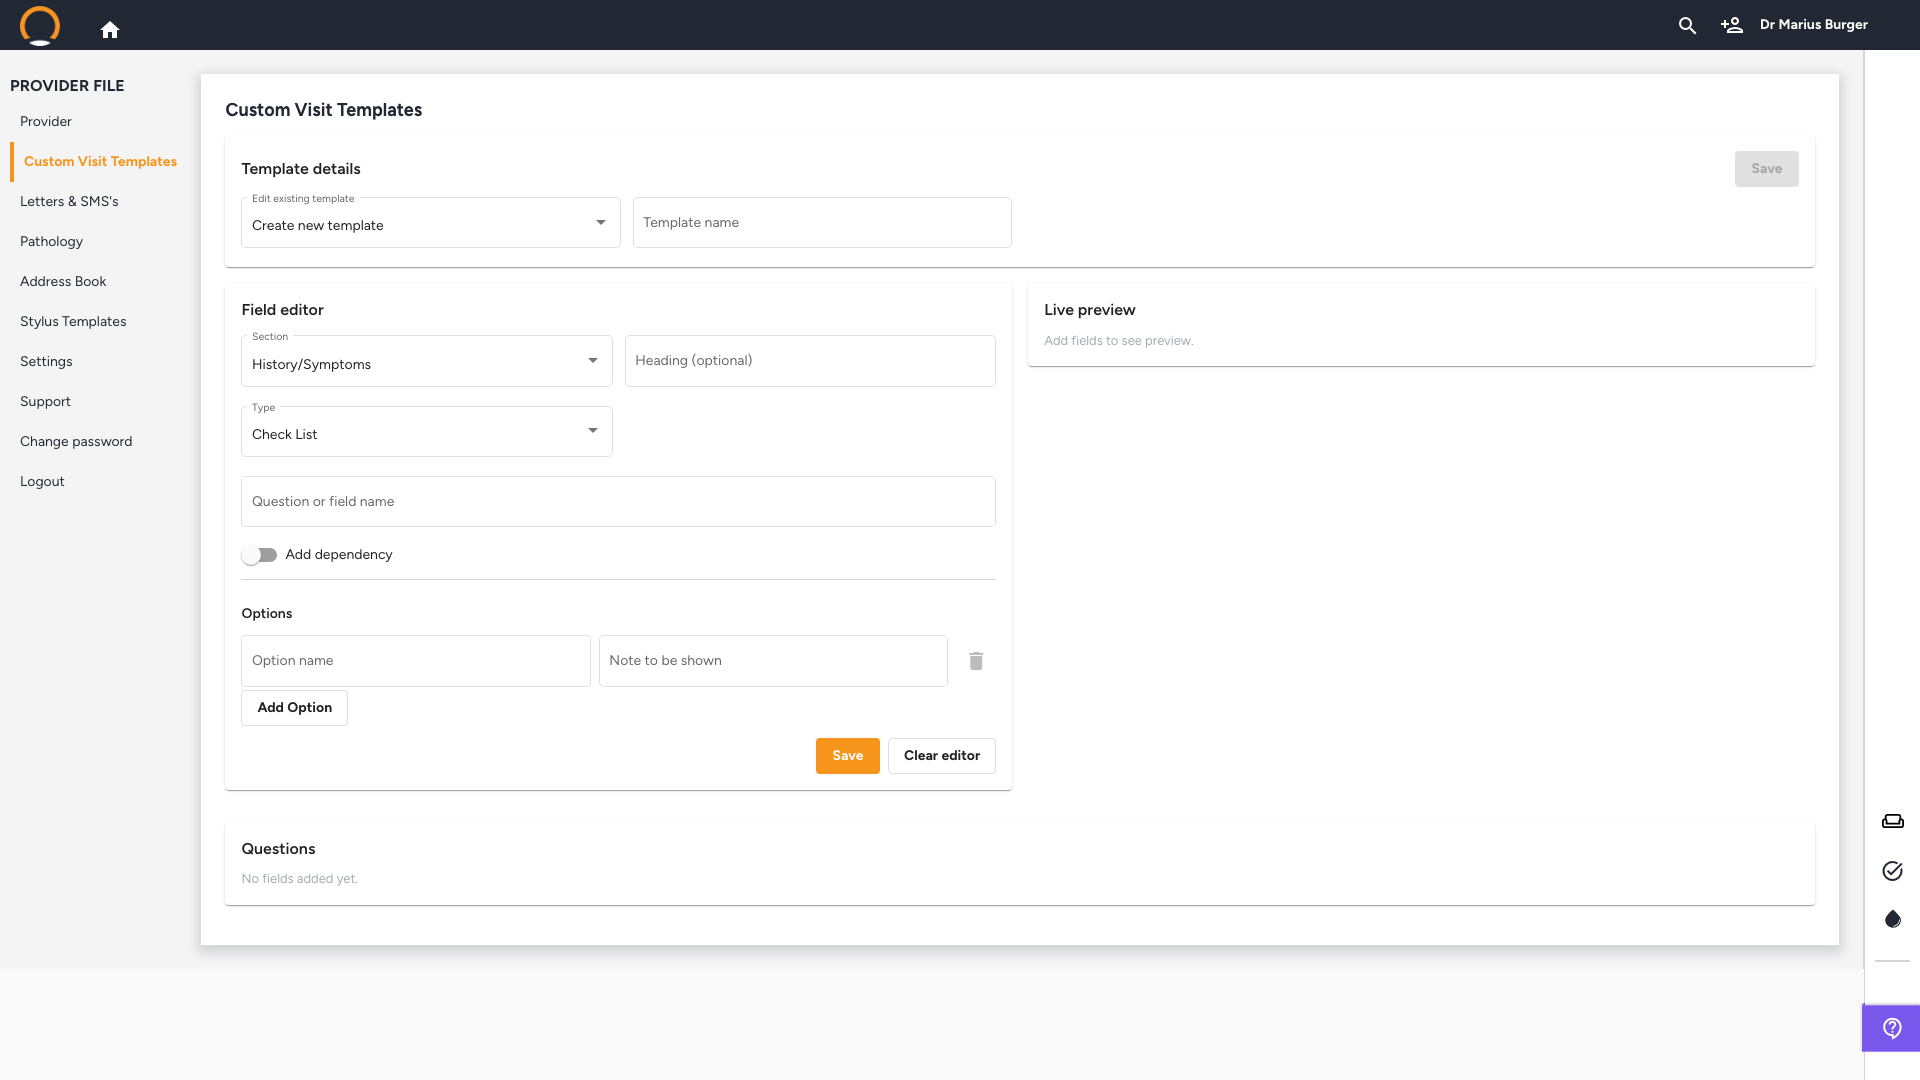
Not the same as billing templates: This builds custom note-taking fields for the Symptoms and Examination tabs. To save a reusable bundle of billing lines (diagnoses, medicines, procedures), see Billing and Procedure Templates instead.
Full walkthrough: For dependencies, headings, field types, and how to apply a saved template during a real consultation, see Custom Visit Templates.
3. Letters & SMS's
Location: Provider File › left menu
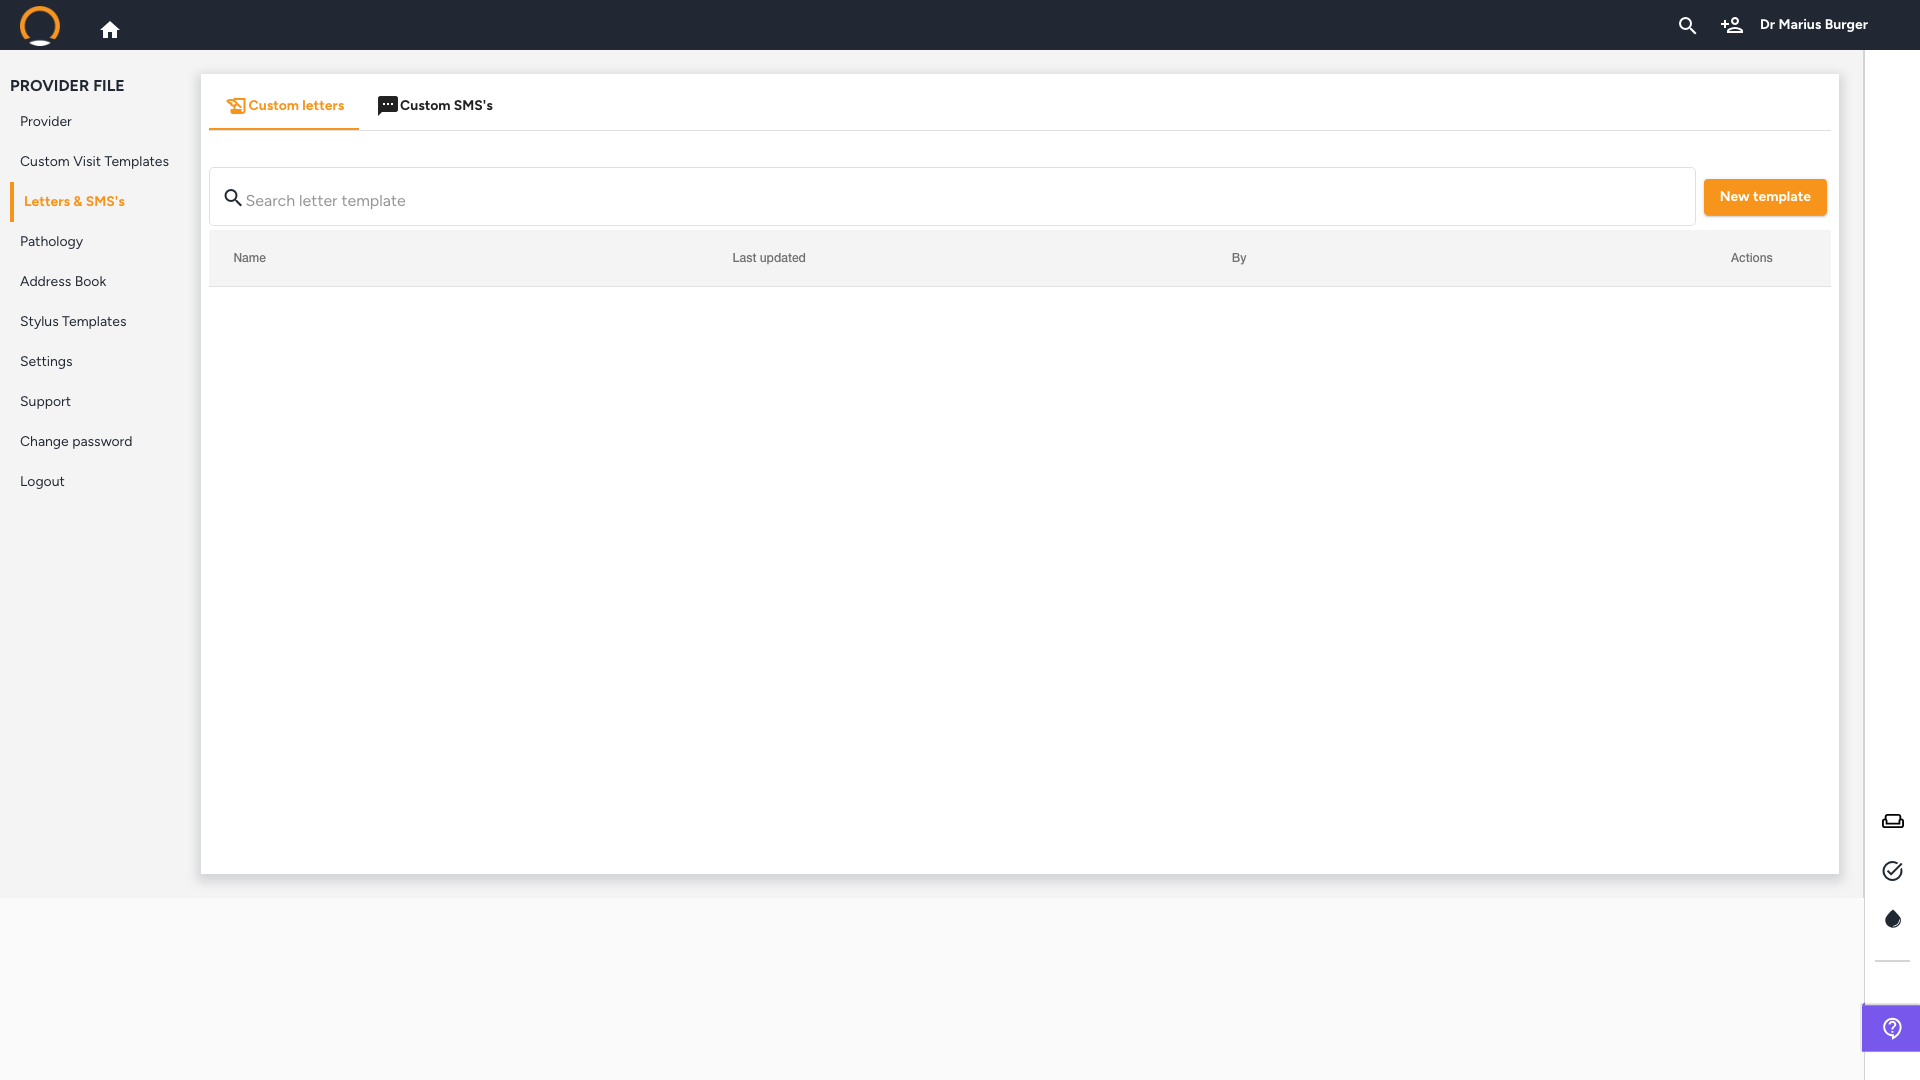
Manage two libraries side by side: 'Custom letters' and 'Custom SMS's'. Search existing templates or click 'New template' to create one. Once saved, these become available as manual options when you write a custom letter or SMS to a patient.
Full walkthrough: For the placeholder field list and a step-by-step on writing a template, see Customizing Letters and SMS in Healthbridge Clinical.
4. Pathology
Location: Provider File › left menu
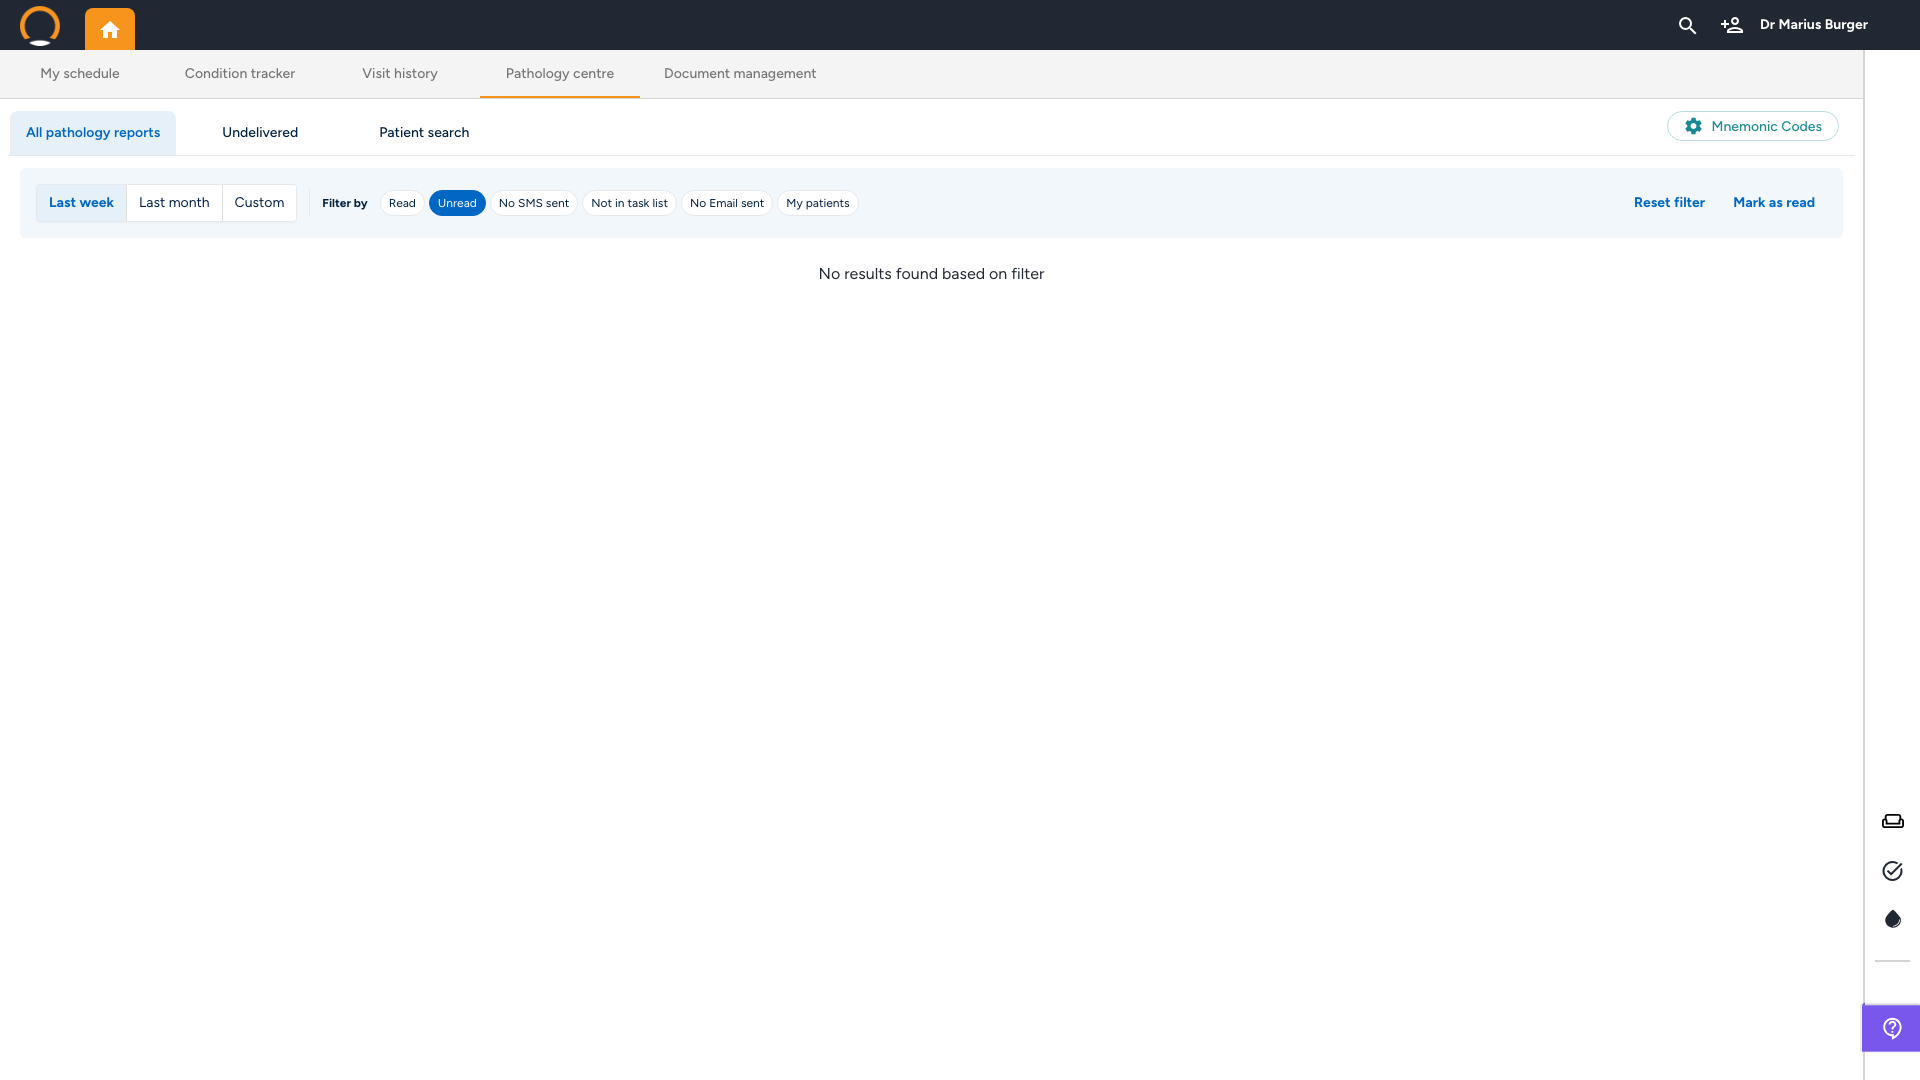
This opens the same Pathology Centre you can reach from the home dashboard's 'Pathology centre' tab, with 'All pathology reports', 'Undelivered', and 'Patient search' tabs. Click 'Mnemonic Codes' in the top-right to configure your lab's short codes.
5. Stylus Templates
Location: Provider File › left menu
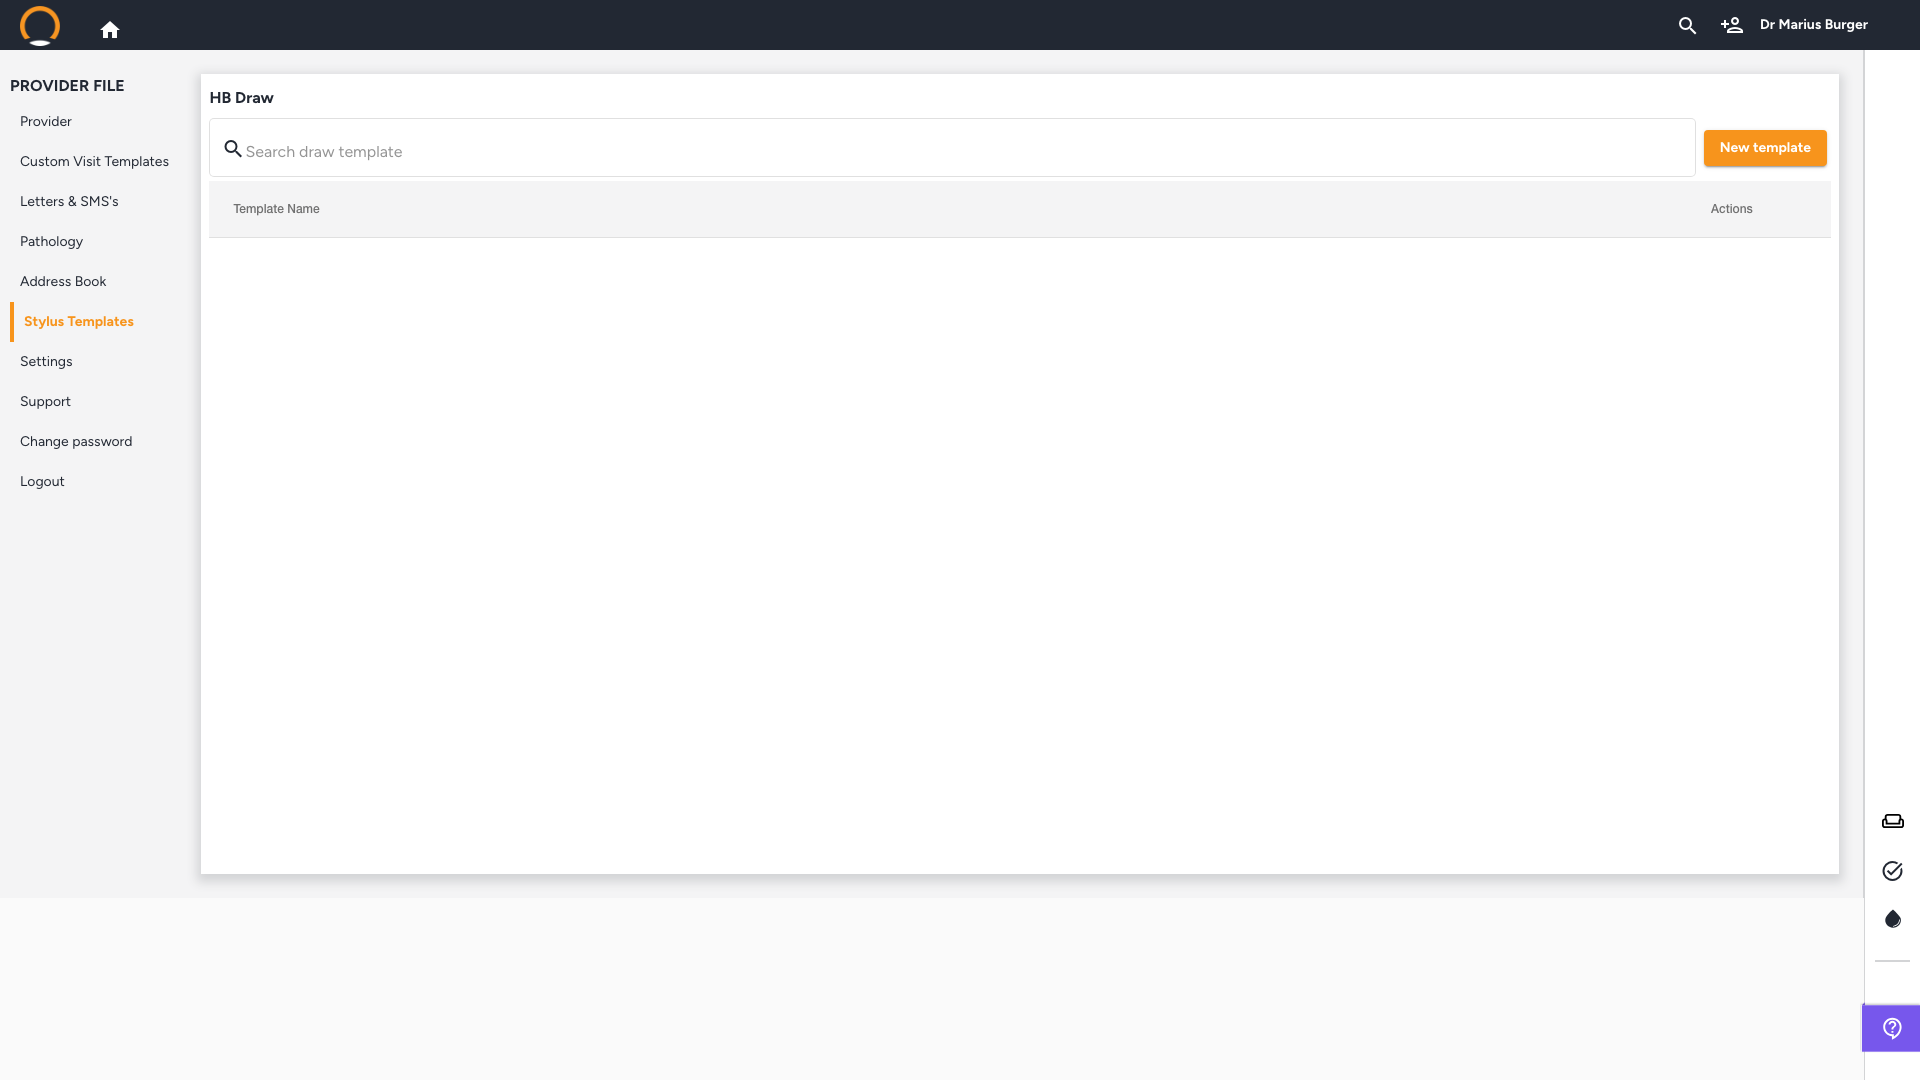
Manage your own HB Draw templates for body charts. Search existing draw templates or click 'New template' to create one, ready to use next time you open a body chart during an examination.
6. Support
Location: Provider File › left menu
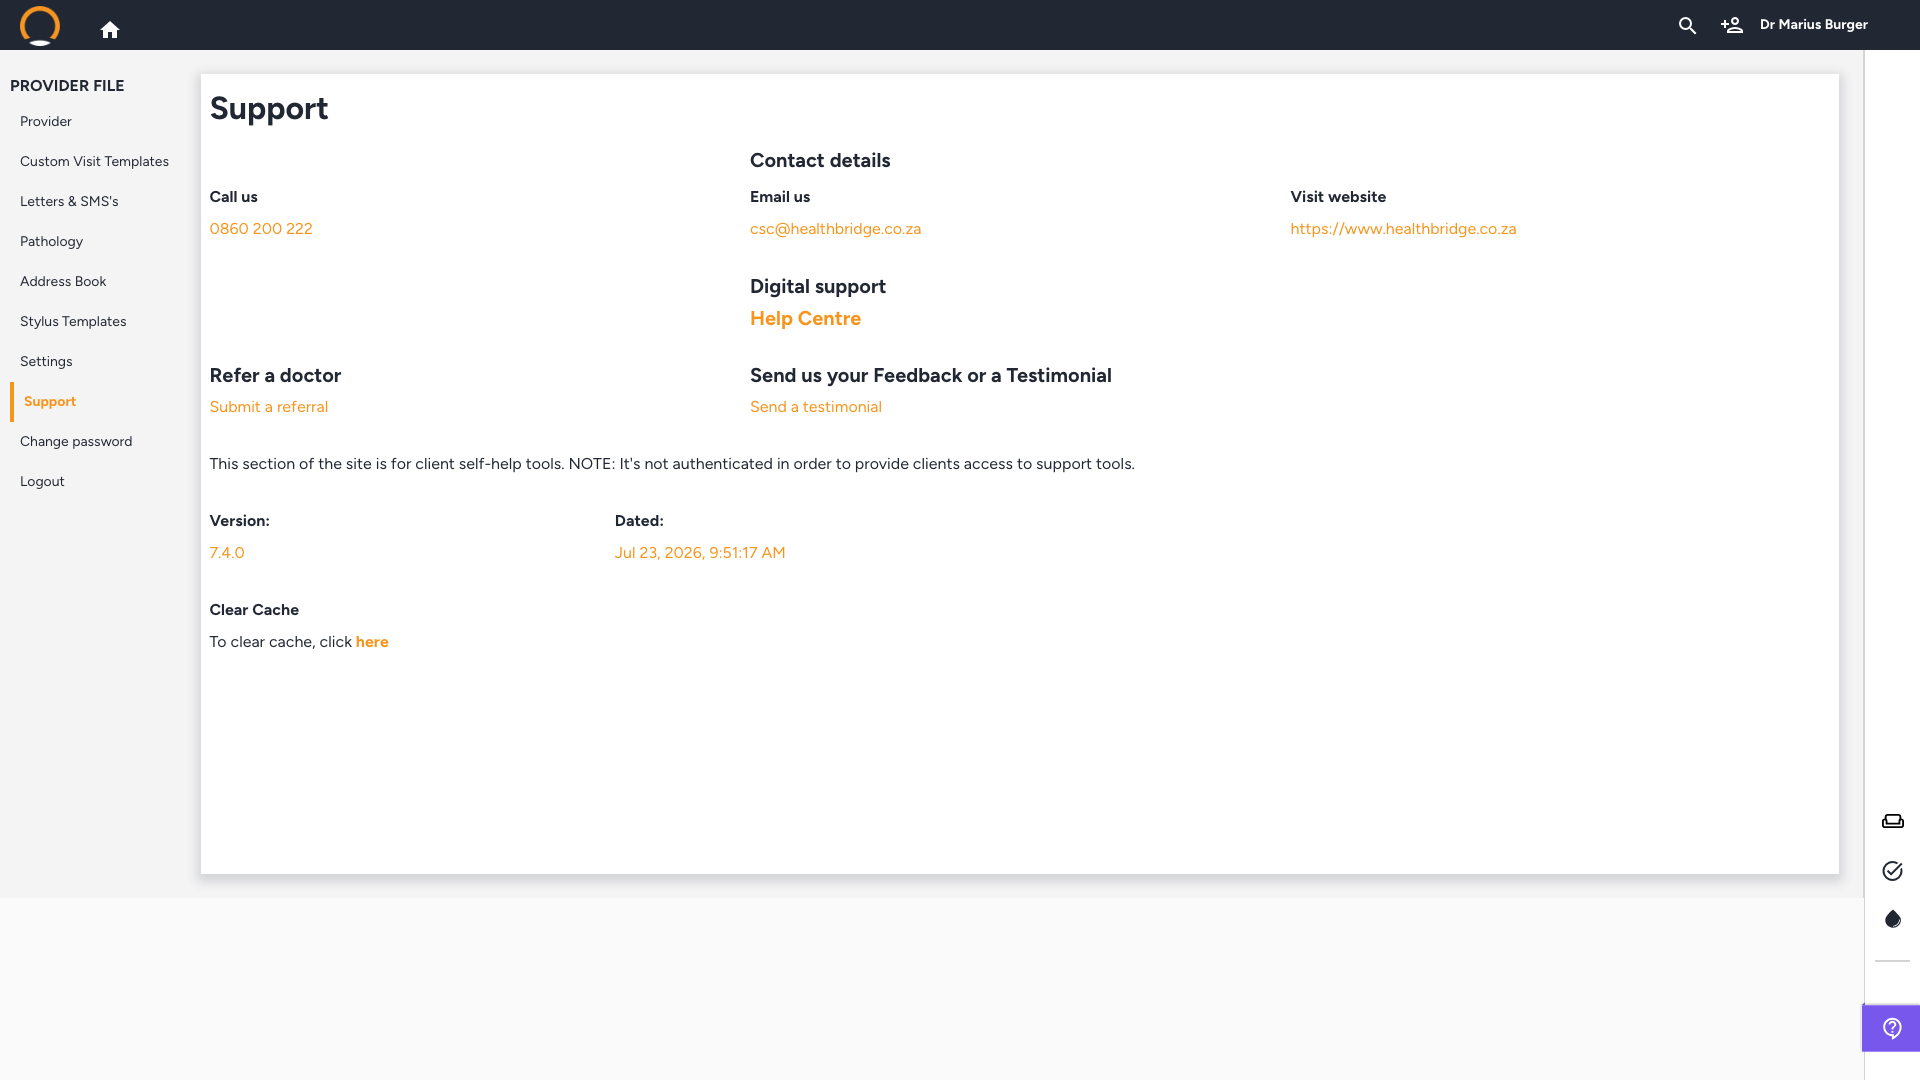
Find contact details for the Healthbridge Clinical support team, a link to the Help Centre, a 'Submit a referral' link if you want to refer another doctor, and a 'Send a testimonial' link for feedback. Your current app Version and a 'Clear Cache' link are also here, useful if support asks for them while troubleshooting.
Two sections covered elsewhere: 'Address Book' and 'Settings' (including watermarks and email password protection) also live in this same left menu, but have their own dedicated guides, see Related guides below. 'Change password' and 'Logout' in the menu are self-explanatory.