
How to Secure Your Documents: Watermarks & Password Protection
To maintain document integrity and prevent fraud, Healthbridge Clinical provides automated security features. These "Security Pillars" allow you to apply digital seals to your records and ensure that sensitive patient information remains confidential.
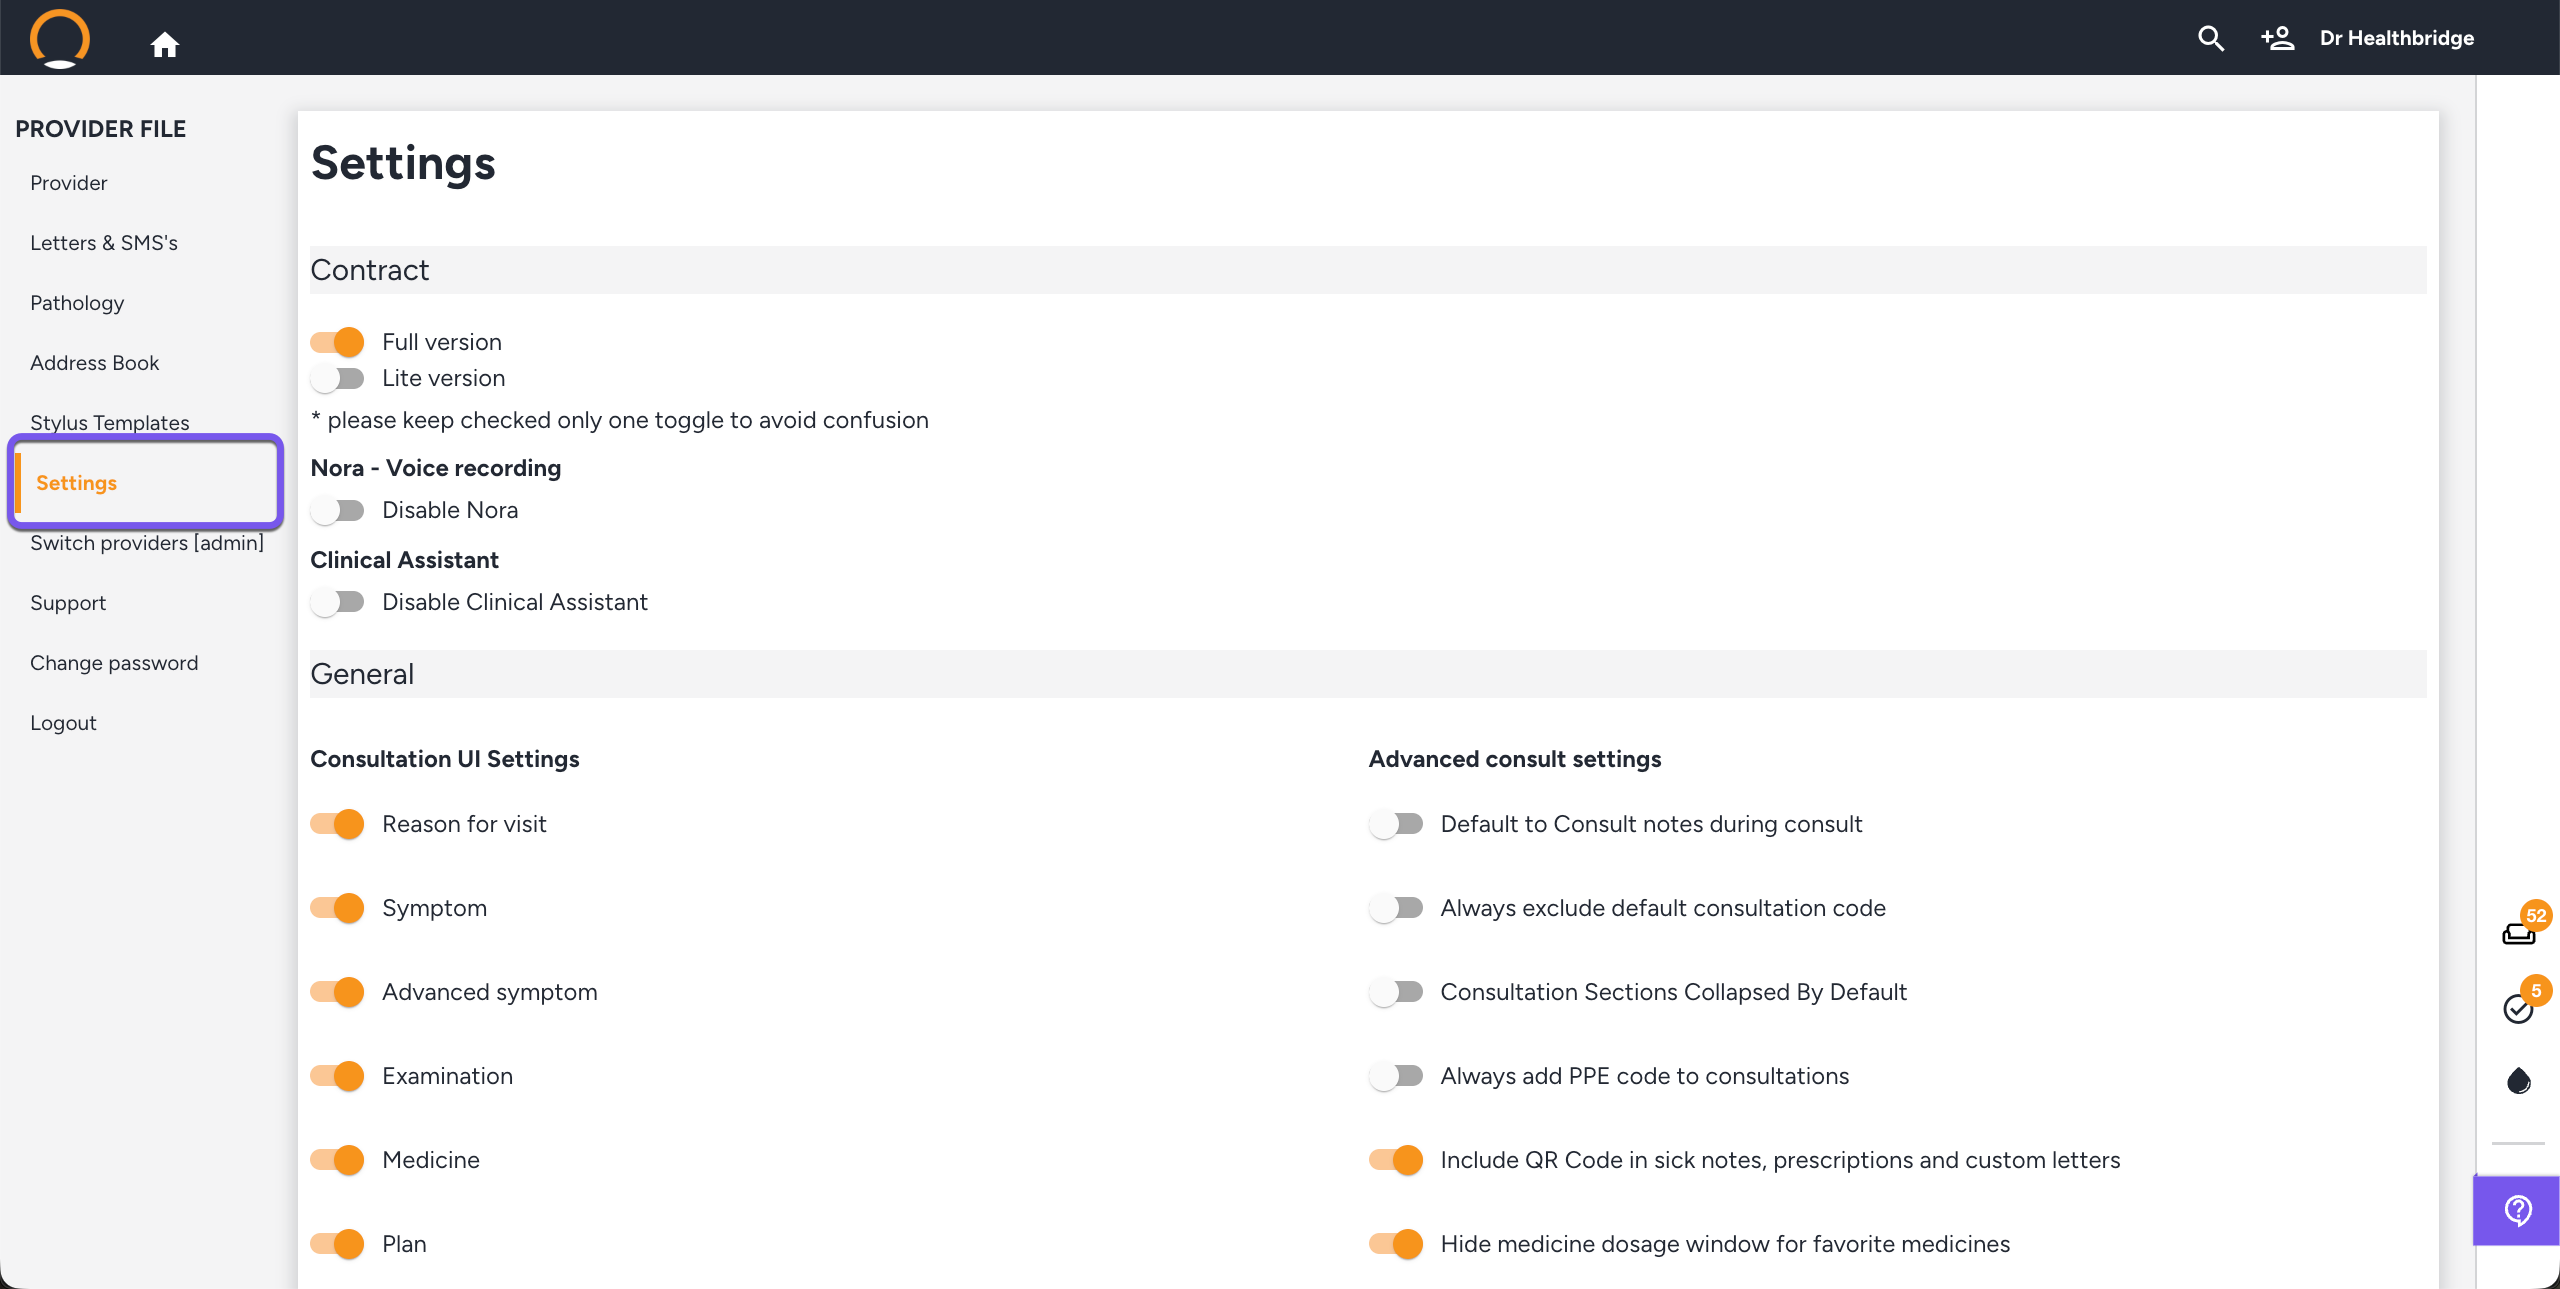
Step 1: Access Provider Settings
- Log into Healthbridge Clinical.
- In the top-right corner, click on your provider name.
- In the left-hand panel, select Settings.

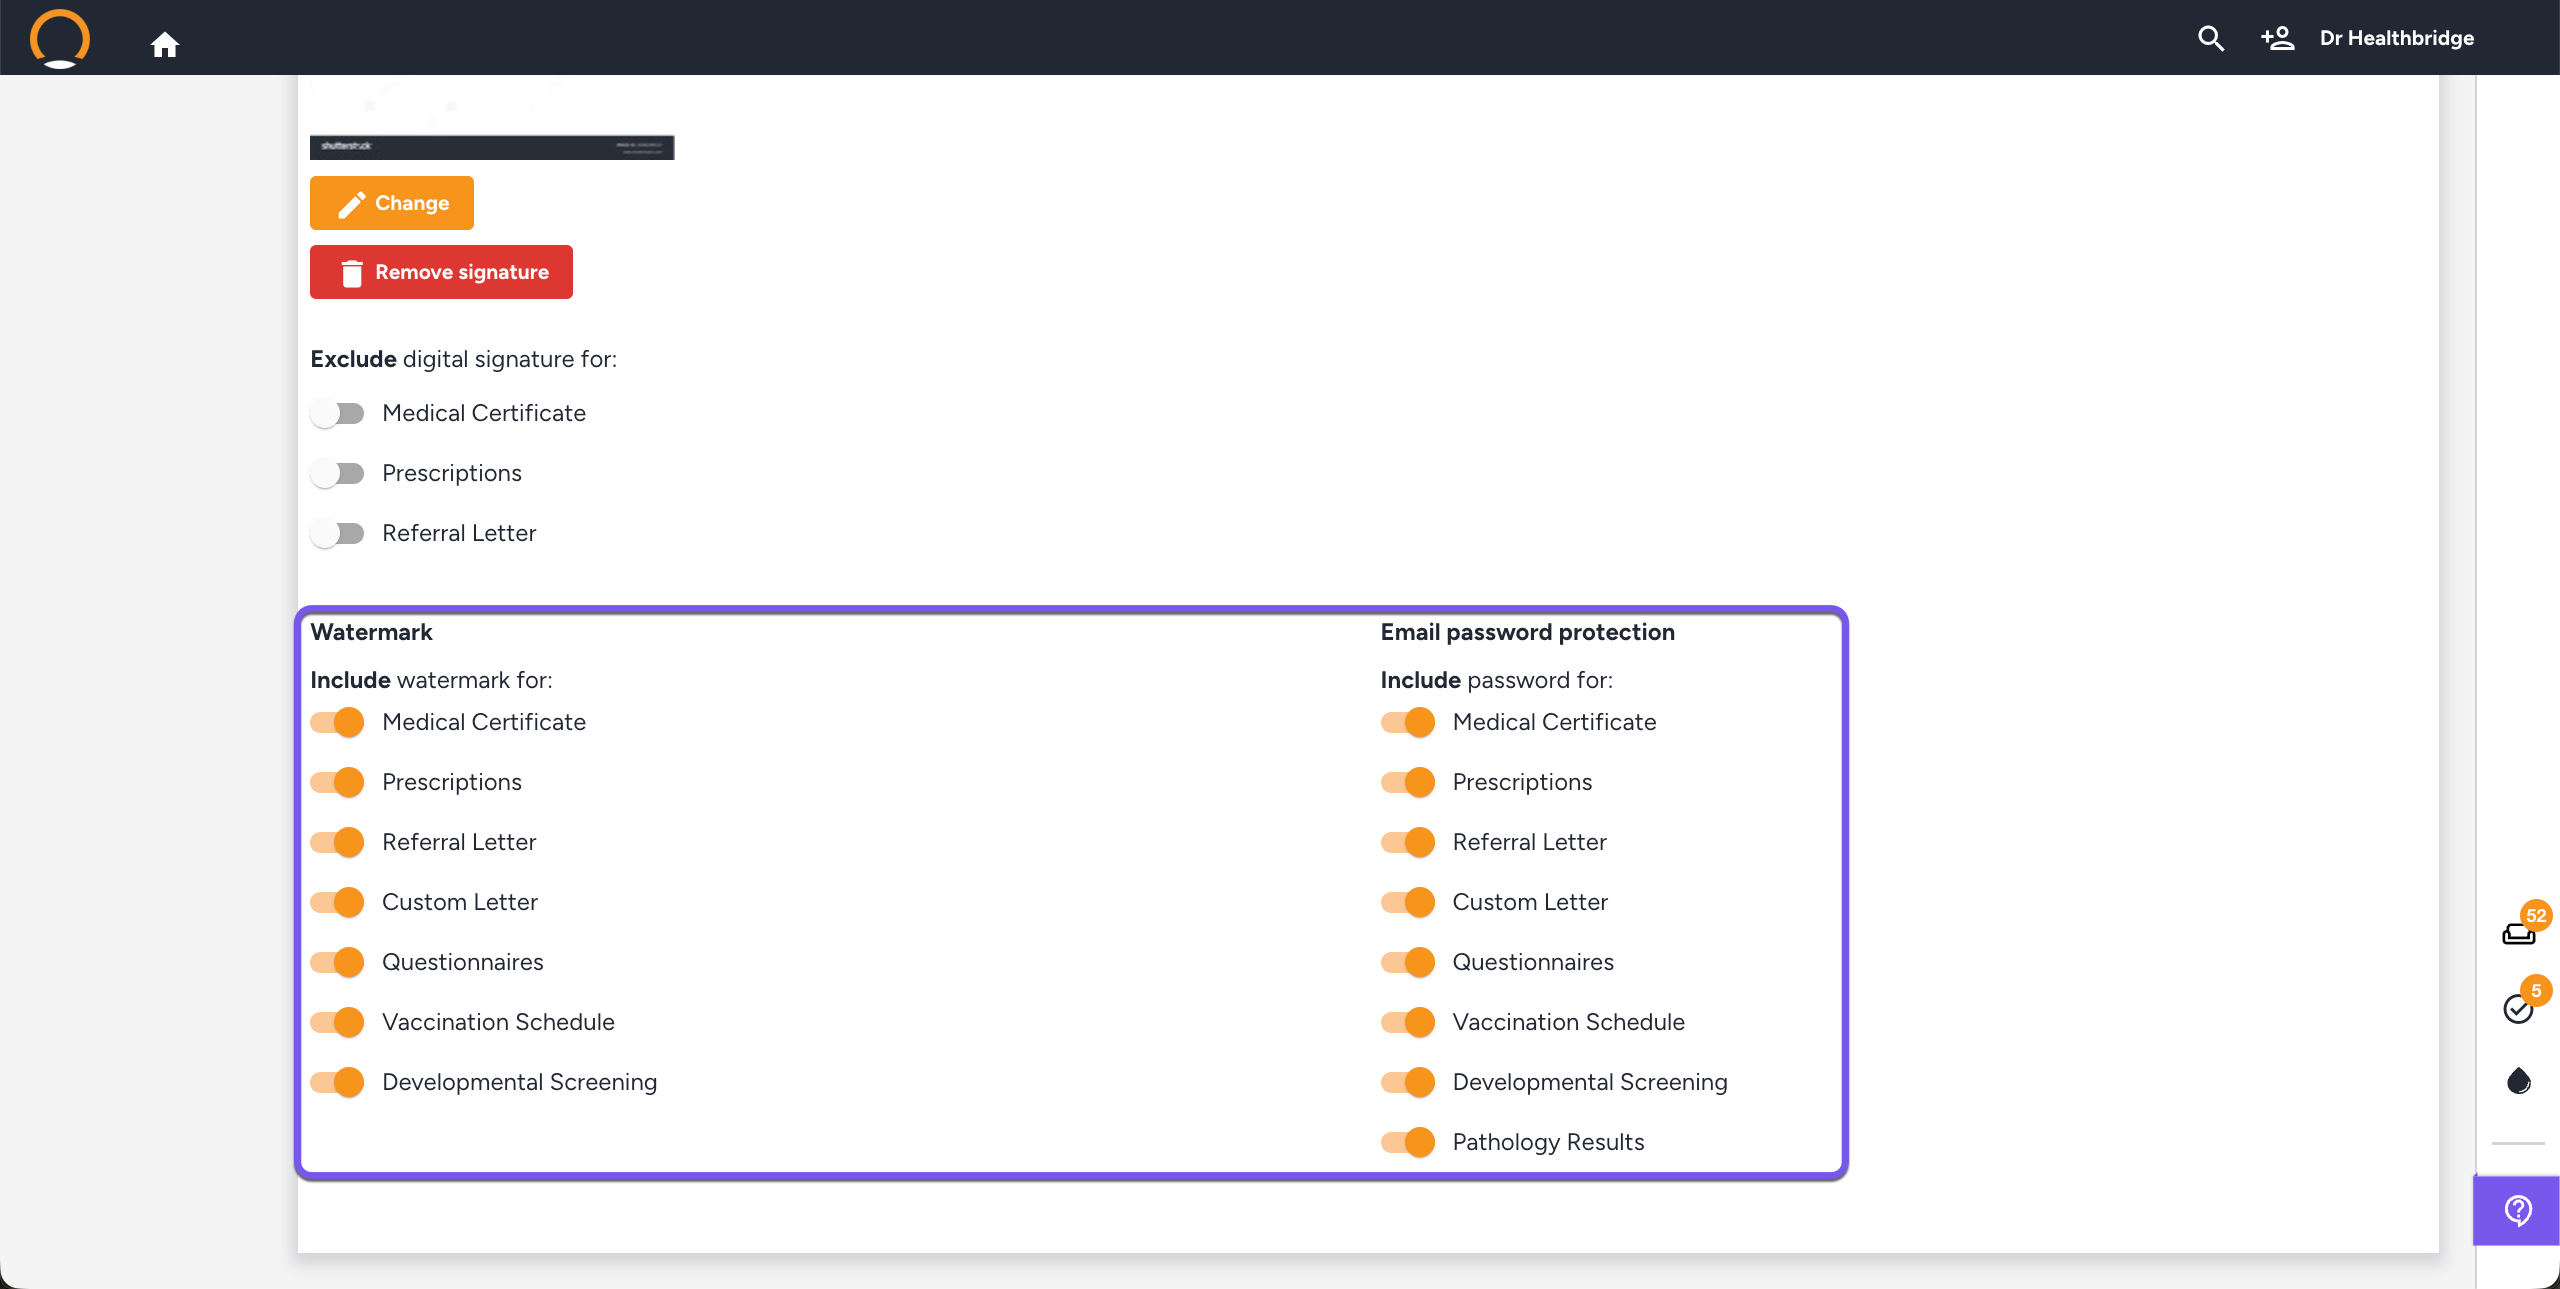
Step 2: Navigate to the Security Sections
- Scroll down the settings page until you reach the Watermark and Email password protection sections.
- Here, you will see a list of document types with individual toggle switches.
Step 3: Enable Your Security Features
- To Prevent Tampering: Under the Watermark section, toggle the switch to 'On' for the documents you wish to protect with a "digital seal."
- To Ensure POPIA Compliance: Under the Email password protection section, toggle the switch to 'On'. This ensures that when these documents are emailed, the recipient must enter the patient’s ID number to open the PDF.
Pro-Tips for Enhanced Security:
The Anti-Fraud QR Code: Even if you choose to disable watermarks, remember that every clinical PDF generated in Healthbridge Clinical includes a unique Authentication QR Code. This allows third parties (like pharmacies or employers) to scan the document and instantly verify that it is an authentic record issued by your practice.
Per-Document Customization: These settings are not "all or nothing." You can choose to watermark only high-risk documents like prescriptions and medical certificates while leaving referral letters standard.